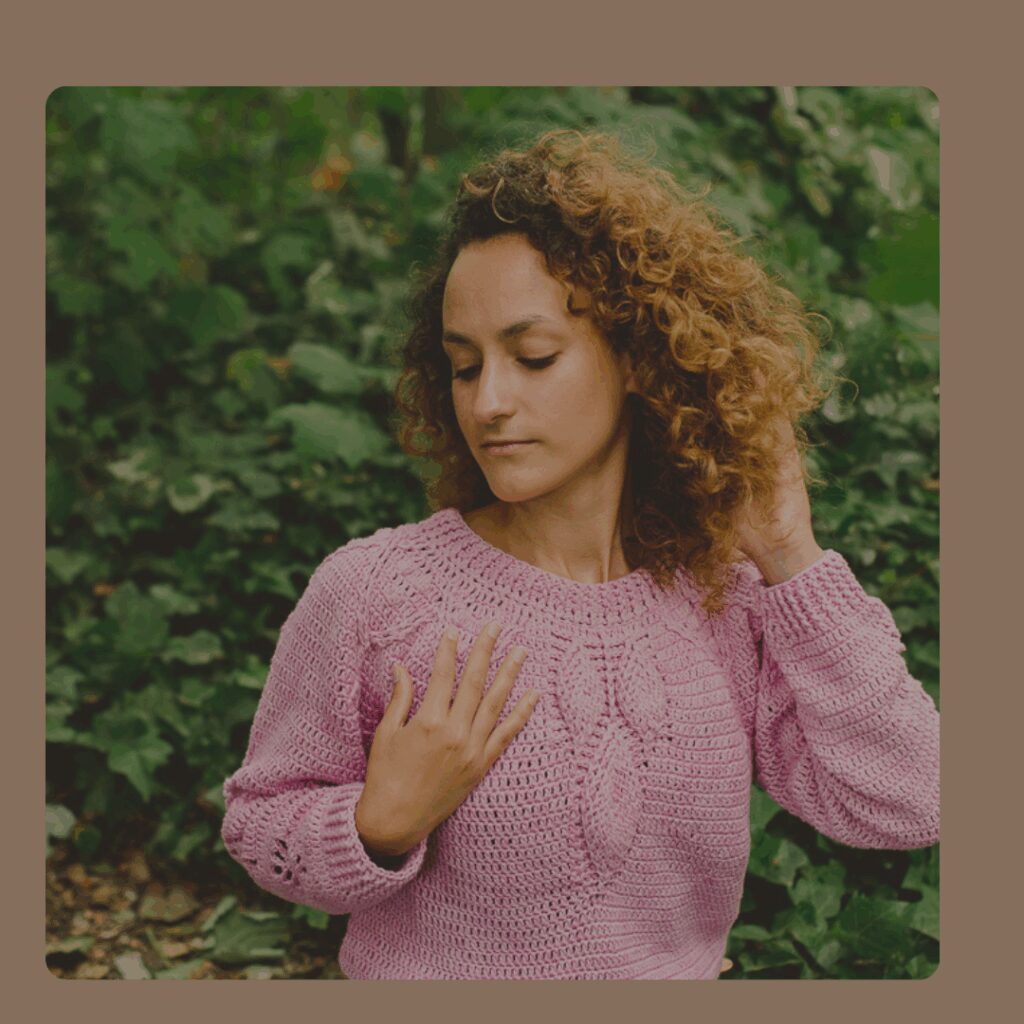
Hola Anandinis!
Nos encontramos nuevamente en la semana númeor 2 de nuestro CAL. Espero que muchas de ustedes ya tenga muchas estrellitas hechas. Recuerda que para ver el tutrorial, patrón y diagrama de la semana 1 puedes ir aqui MANTA LUNAR SEMANA 1.
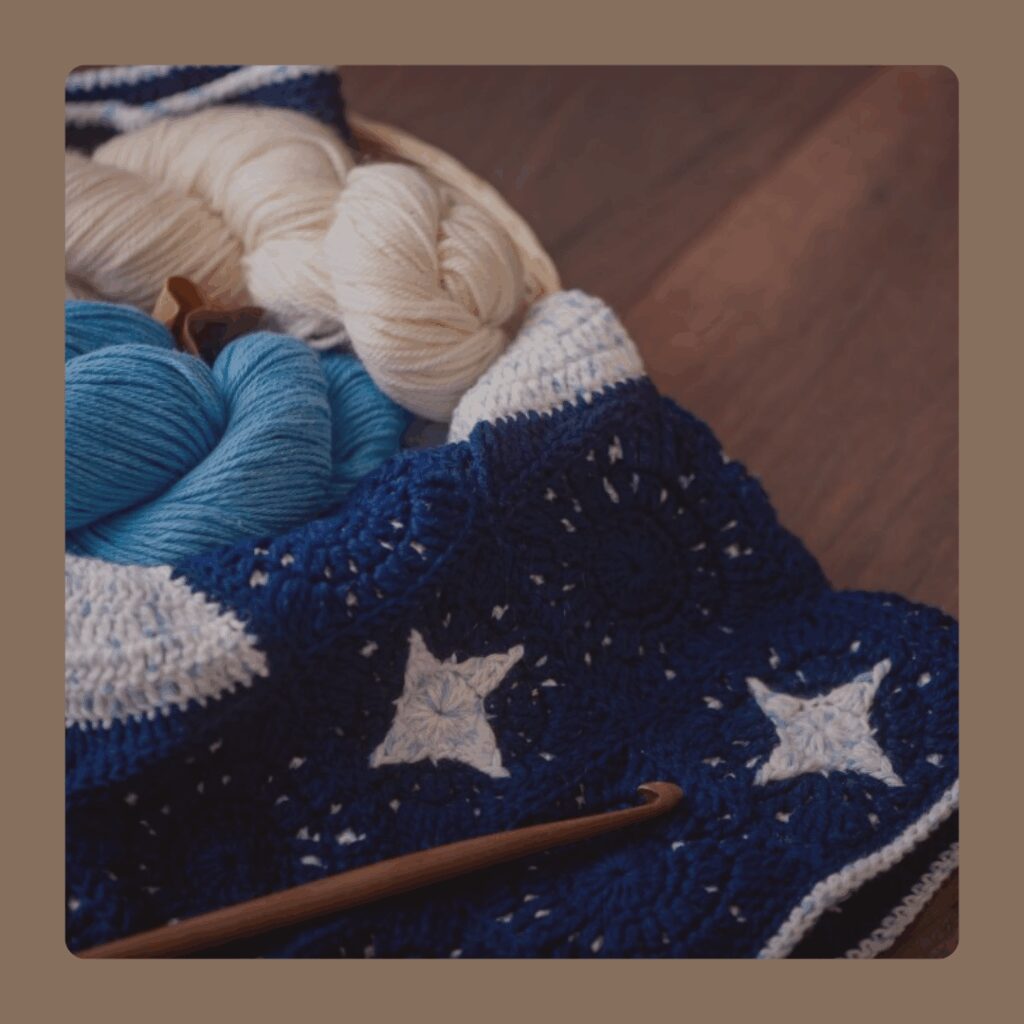
Esta semana veremos los grannies del cielo, los cuales son azules y no llevan un gran diseño que resalte pero sí tiene estas «manchas» blanquedas que simbolizan estrellas muchos más lejanas. Quería mencionar esto ya que muchas personas me escribieron preguntándome si esto debía quedar así o estaban cometiendo algún tipo de error… y no, ustedes lo están haciendo grandioso!
Hello Anandinis!
We are once again in week 2 of our CAL. I hope that many of you already have a lot of stars made. Remember that to see the tutorial, pattern and chart of week 1 you can go here LUNAR BLANKET WEEK 1.
This week we will be looking at the grannies in the sky, which are blue (in my project) . It does not have a big design that stands out but it do have these white «spots» that symbolise stars much further away. I wanted to mention this as many people wrote to me asking if this should stay like this or if they were making some kind of mistake… and no, you guys are doing great!
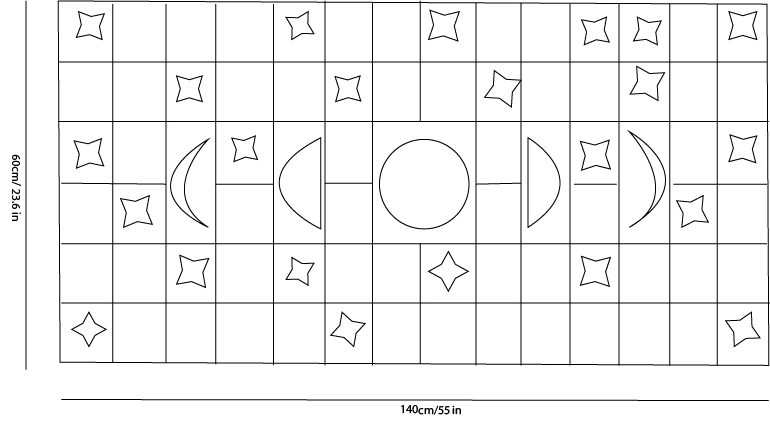
En el diagrama anterior, los grannies del cielo están representados por los cuadrados en blanco, sin diseño. Los grannies del cielo necesarios son 49, pero ya sabes que esto es sólo una guía y tu puedes armar tu propia combinación de diseño usar el número que gustes.
In the diagram above, the sky grannies are represented by the blank, unpatterned squares. The sky grannies needed are 49, but you know this is only a guide and you can put together your own design combination using any number you like.
let's start!

Abreviaciones/Abbreviations US terms
Rnd: Ronda
C1:Color 1
pd:punto deslizado
cad: cadeneta
pb: punto bajo
sht: sólo por la hebra trasera
shd: sólo por la hebra delantera
pa: punto alto
dpa: doble punto alto
pard: punto alto en relieve por delante
dims: disminución
salt 1p: salta 1 punto.
Rnd: Round
C1: Color 1
sl st: slip stitch
ch: chain
sc: single crochet
blo: back loop only
flo: front loop only
dc: double crochet
tr: treble crochet
FPdc: front post double crochet
dc2tog: double crochet 2 together
skp 1st: skip 1 st
NOTAS:
- Esta manta está hecha en mosaico overlay, trabajando en lagunas rondas por le hebra trasera de los puntos y otras veces trabajando por la hebra delantera.
- Los puntos altos, dism y punto en relieve son enganchado siempre en la ronda que es de su mismo color
- En cada ronda terminarás con un cierre especial que les muestro en el video tutorial
NOTES:
- This blanket is made in overlay mosaic, working in some rounds through back loop only and sometimes working through front lopp only.
- The double crochet, dc3tog and FPdc stitches are always hooked in the round that is of the same colour.
in each round - You will end up with the special join that I show you in the video tutorial.
COMIENZO
Con C1 doble anillo mágico
Rnd1: C1. 2cad (cuenta como pa), 15 pa, apreta el anillo y une. 16pa
Rnd2: C1. 1cad (no cuenta como p), *1aum pb sht, 1pb sht, rep desde* hasta el final, une.
Rnd3: C2. 1cad (no cuenta como p), *1pb sht, 1aum pb sht, 1pb sht, rep desde* hasta el final, une.
Rnd4: C1. 1cad (no cuenta como p), *1pa shd en pb justo abajo de la rnd2, 1pa shd en sig pb justo abajo en la rnd2, slat 1p, 1pb sht, 1pa shd en pb justo abajo en la rnd2, salt 1p, rep desde* hasta el final, une.
Rnd5: C2. 1cad (no cuenta como p), pb sht por toda la ronda, une.
Rnd6: C1. 1cad (no cuenta como p), *1pa shd en pb justo abajo en la rnd4, salt 1p, 1pb sht, 1dism pa shd en cada pa de la rnd4, 1pb shd, 1pa shd en pb justo abajo en la rnd4, salt 1p, 1pb shd, 1pa shd en pb justo abajo en la rnd4, 2pdard shd en sig pa de la rnd4, 1cad, 2pdard shd en el sig pa de la rnd4, 1pa shd en el sig pb de la rnd4, salt pts, 1pb sht, rep desde* 4 veces, une y corta.
START
With C1 make a double magic ring
Rnd1: C1. ch2 (count as dc), 15dc, pull te magic ring tight and join.
Rnd2: C1. ch1 (does not count as st), *2sc blo in next st, 1sc blo in next st, rep from* to end, join.
Rnd3: C2. ch1 (does not count as st), *1sc blo in next st, 2sc blo in next st, 1sc blo in next st, rep from* to end, join.
Rnd4: C1. ch1 (does not count as st), *dc flo in next 2dc below from rnd2, sk 1st, 1sc blo in next st, 1dc flo in next sc below from rnd2, sk 1st, rep from* to end, join.
Rnd5: C2. ch1 (does not count as st), sc blo around, join.
Rnd6: C1. ch1 (does not count as st), 1dc flo in sc below from rnd4, sk 1st, 1sc blo in next st, 1dc2tog flo in next 2dc below from rnd4, 1sc blo in next st, 1dc flo in next sc below from rnd4, sk 1st, 1sc blo in next st, 1dc flo in sc below from rnd4, 2tr flo in next dc below from rnd4, ch1, 2tr flo in next dc below from rnd4, 1dc flo in next dc below from rnd4, sk 4sts, 1sc blo in next st, rep from* to end, join and fasten off.
Espero ver pronto los avances de sus lindas mantas! este es un diseño que me entusiasma muchisimo compatir con ustedes, como un bello regalo de navidad. Recuerda que este patrón no está testeado así que si encuentras alguna errata, hazmela saber de inmediato!
I hope to see the progress of your beautiful blankets soon! This is a pattern that I’m very excited to share with you, as a beautiful Christmas present. Remember that this pattern is not tested so if you find any typos, let me know right away!