Cuando hablamos de diseño de sweaters, la dirección de la construcción es uno de los elementos que más influye en la experiencia de tejido y en el resultado final. Cada método, ya sea top down, bottom up, raglán o construcción lateral, ofrece posibilidades distintas, y conocerlas te permite elegir la que mejor se adapta a tu proyecto, a tus puntadas favoritas o incluso a tu forma de tejer.
En esta ocasión nos enfocaremos en la construcción Bottom Up con hombro caído, un método tradicional que continúa siendo uno de los favoritos entre diseñadoras y tejedoras por su claridad, su estructura y su versatilidad. Si estás buscando una forma intuitiva de dar vida a un sweater, o si simplemente quieres entender mejor cómo funcionan sus partes, este blog es para ti.
When we talk about sweater design, the direction of construction is one of the elements that most influences both the knitting experience and the final result. Each method, whether top down, bottom up, raglan, or a side-to-side construction, offers different possibilities, and understanding them helps you choose the one that best suits your project, your favorite stitches, or even your personal way of crocheting.
In this post, we’ll focus on the Bottom Up construction with a dropped shoulder, a traditional method that remains a favorite among designers and makers for its clarity, structure, and versatility. If you’re looking for an intuitive way to bring a sweater to life, or if you simply want to better understand how its components work, this blog is for you.
Construcción Bottom Up (de abajo hacia arriba)
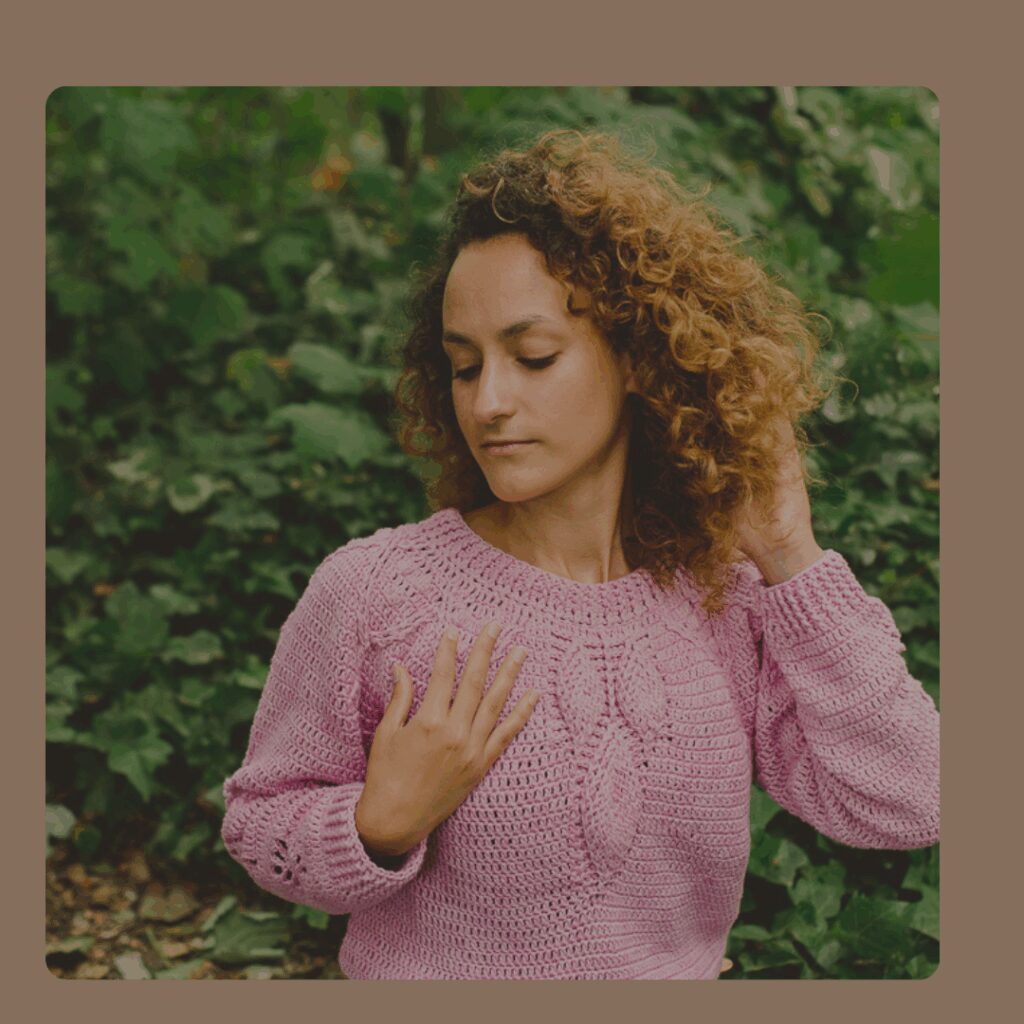
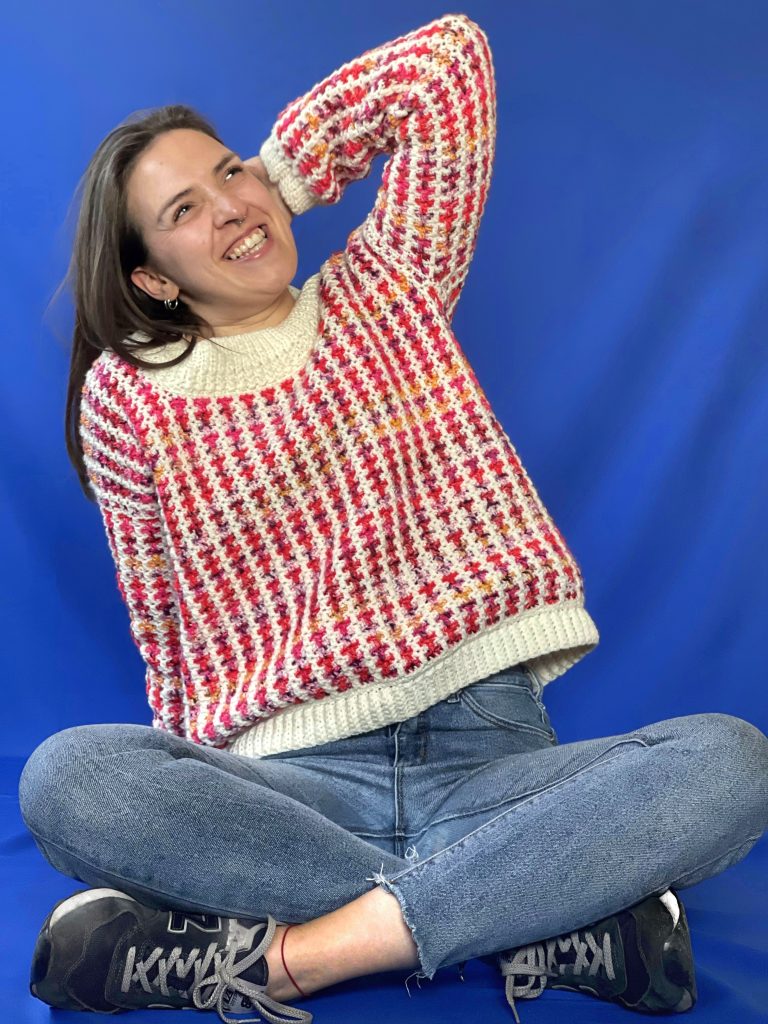
La construcción Bottom Up es una de las formas más clásicas y accesibles para crear sweaters, tops, poleras, kimonos, etc. Como su nombre lo indica, se comienza desde la parte inferior de la prenda, avanzando hacia la zona del escote y los hombros. Esta estructura resulta especialmente intuitiva, ya que te permite visualizar con claridad cómo va tomando forma la sisa, el escote y el ancho del cuerpo a medida que subes en las filas.
Generalmente, el proyecto comienza con una pretina, si es que el diseño lo requiere. Una vez hecho, continúas tejiendo sobre la base hacia arriba. Esta dirección de trabajo hace que la forma final esté determinada por la altura de las filas tejidas, lo que facilita ajustar el largo sobre la marcha.
Bottom Up Construction (working from the bottom up)
This is often one of the simplest construction methods. As its name suggests, you begin working from the lower edge of the garment. Sometimes you’ll start with ribbing (if your design includes a waistband or hem), and then continue upward.
This makes it easier to see the progression of your sweater, top, or whatever you are crocheting from the bottom up, especially when shaping the armhole and neckline, since these are determined by the height of the worked rows.
En el cuerpo
puedes trabajar en piezas separadas (delantera y espalda) o en circular, según lo que busque tu diseño o tu estilo preferido. Ambas opciones son válidas y tienen su propio encanto; tejer en circular evita costuras, mientras que trabajar en partes da más control sobre escote y hombros.
¿Y las mangas?
En un sweater bottom up con hombro caído, las mangas suelen ofrecer flexibilidad total. Puedes tejerlas:
- Desde el puño hacia el hombro, avanzando hasta alcanzar el ancho necesario para encajar en «la sisa». Esta opción normalmente implica coser la manga al cuerpo, dependiendo del diseño.
- Desde «la sisa» hacia el puño, levantando puntos directamente del cuerpo ya tejido. Esto permite probar el largo mientras avanzas y ajustar fácilmente.
Ambos métodos son compatibles con el estilo hombro caído.
For the body
You can work in separate pieces (front and back) or in the round, depending on your design and personal preference. Both options are valid and have their own charm: working in the round avoids seams, while working in pieces gives you more control over the neckline and shoulders.
And what about the sleeves?
In a bottom-up sweater with a dropped shoulder, the sleeves usually offer total flexibility. You can work them:
- From the cuff up to the shoulder, increasing until you reach the width needed to fit «the armhole». This option usually requires seaming the sleeve to the body, depending on your design.
- From «the armhole» down to the cuff, by picking up stitches directly from the finished body. This allows you to try on the sleeve as you go and easily adjust the length.
Both methods work beautifully with the dropped-shoulder style.
Qué es un hombro caído
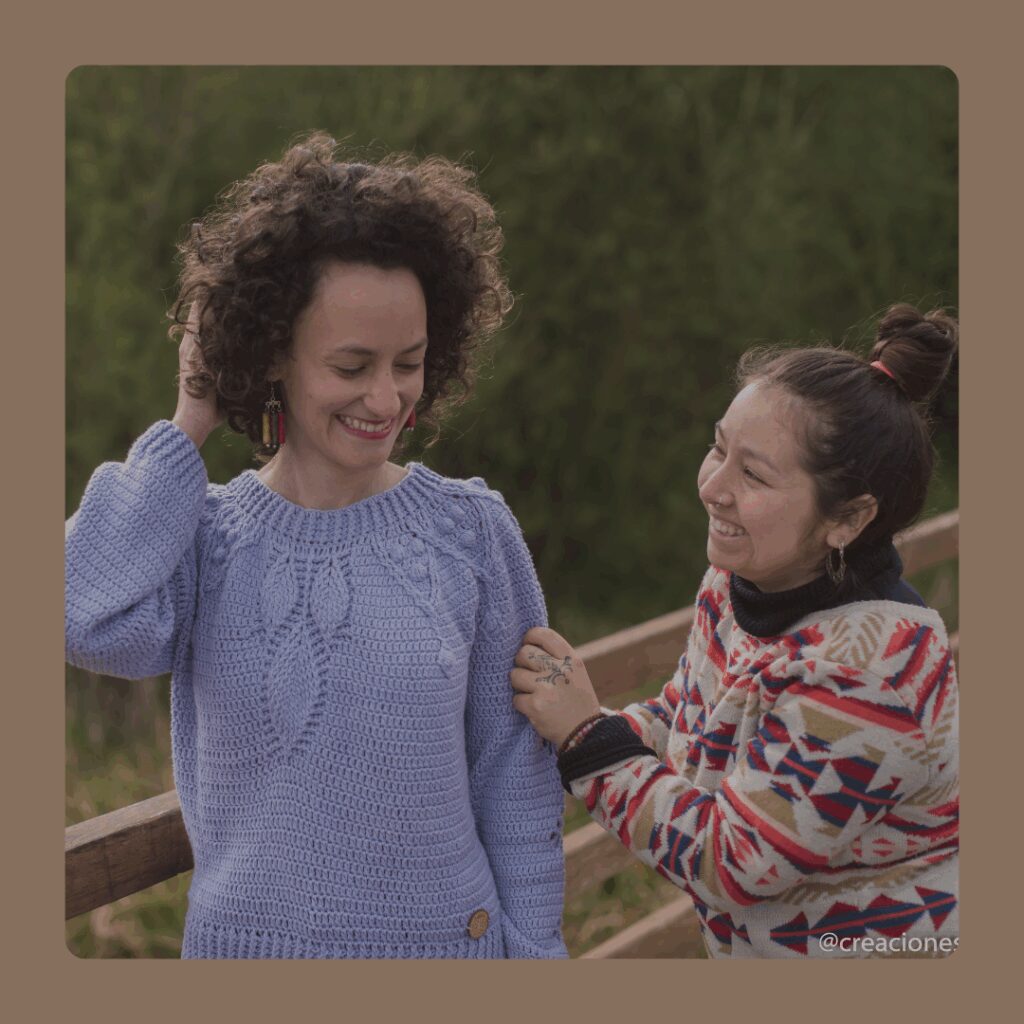
El término “hombro caído” (en inglés, dropped shoulder) describe un estilo de construcción o silueta de prenda donde la costura del hombro no queda justo sobre el borde natural del hombro o de la sisa, sino que cae unos centímetros más abajo, hacia la parte superior del brazo.
- El cuerpo de la prenda suele ser recto, sin disminuciones, esto quiere decir que en este estilo no hay sisa como tal, porque en lugar de moldear el área del hombro, el rectángulo del cuerpo cae hasta cierta altura y luego simplemente se unen las mangas a los lados.
- La línea del hombro se ve más baja de lo habitual.
- Las mangas suelen tener un contorno amplio y recto, fácil de coser o de recoger puntos para tejerlas directamente.
- No requiere moldeado complejo, es sencillo y versátil, perfecta para principiantes
- Permite jugar con texturas, puntadas y colores.
- Es cómoda, moderna y adaptable a distintos cuerpos.
What “Dropped Shoulder” Means
The term dropped shoulder refers to a style of garment construction or silhouette where the shoulder seam does not sit on the natural edge of the shoulder, but instead extends a few centimeters (or inches) down the upper arm.
- The shoulder line sits lower than the natural shoulder, that’s mean this style has no armhole per se
- It creates a relaxed, comfortable, and slightly oversized look.
- When you crochet the body in pieces (front and back) those are usually straight rectangles, without armhole shaping as well.
- The sleeves are attached to wide, straight armholes, or picked up directly from the body once it’s assembled.
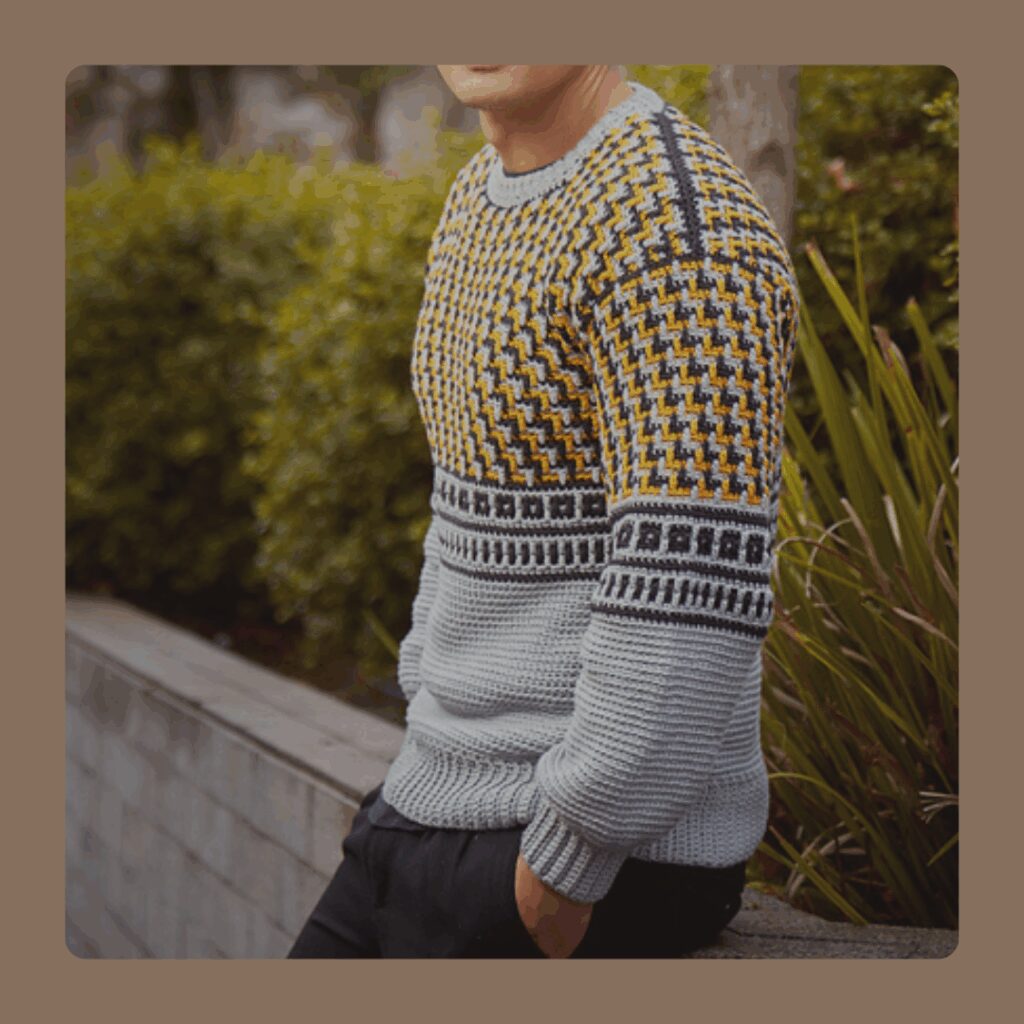
- In crochet, this is one of the simplest and most versatile constructions, perfect for begginers and for showcasing texture or colorwork
- No complex shaping required; it’s ideal for textured stitches or mosaic designs
- it’s comfortable, modern, and flattering on different body types.

Consideraciones sobre las puntadas
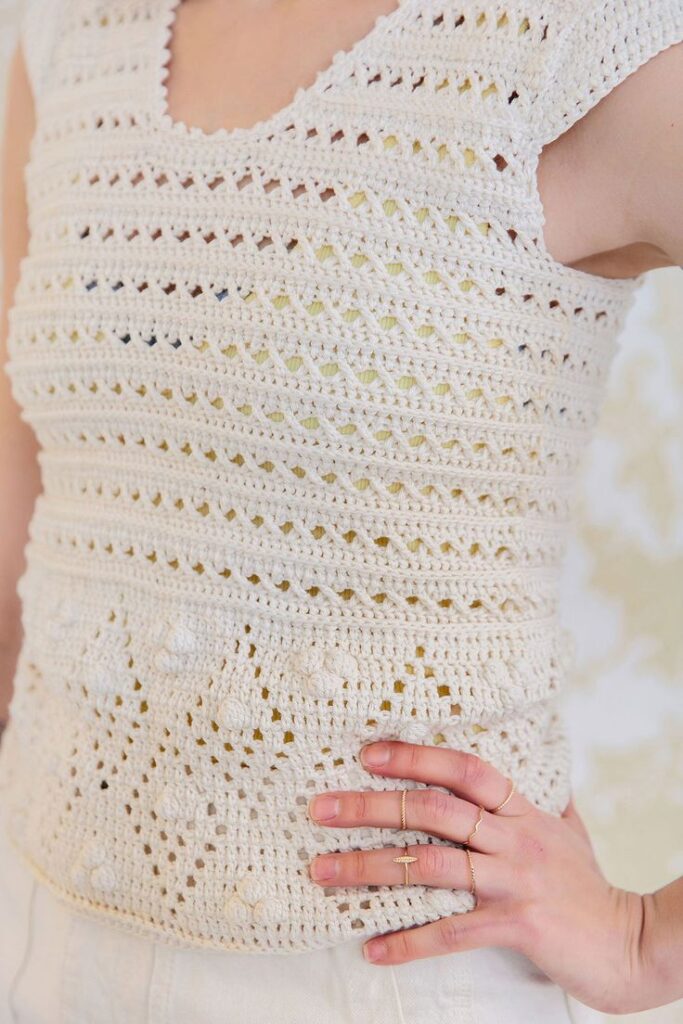
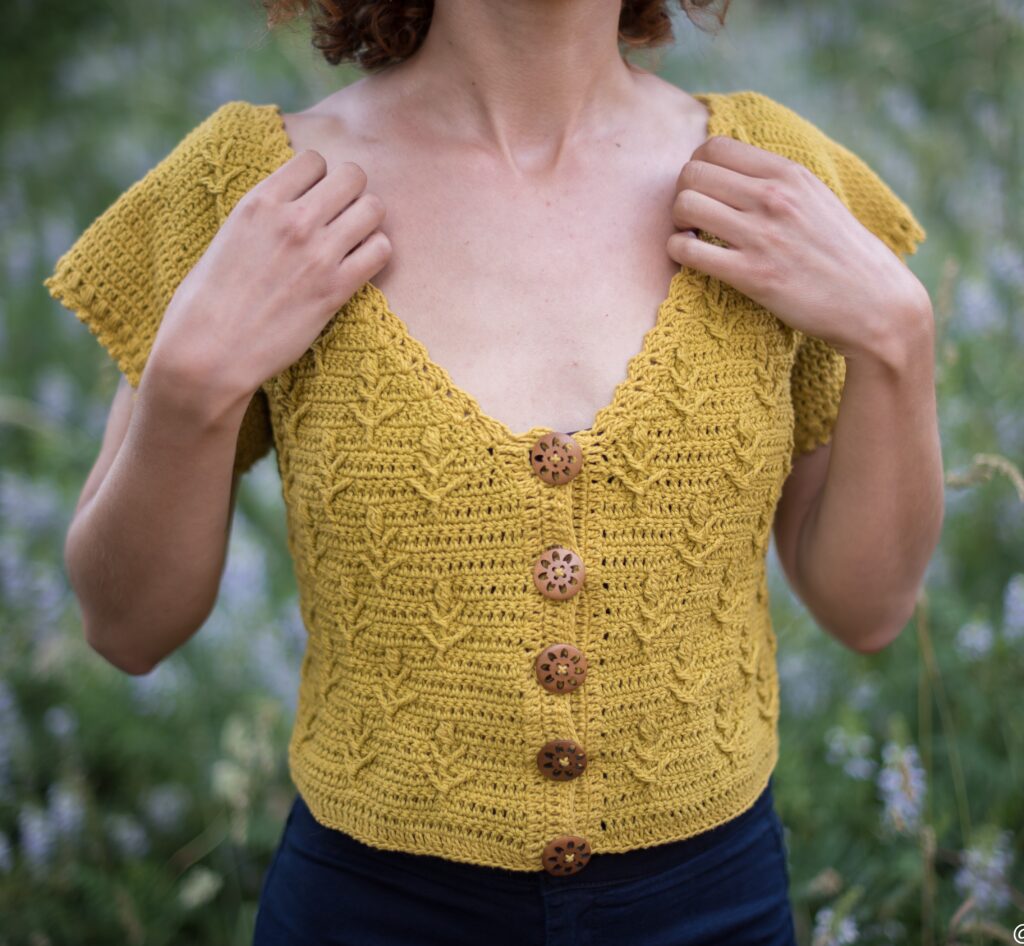
Un punto clave a considerar en bottom up es cómo se verá el derecho de la puntada. En crochet, especialmente, algunas texturas cambian por completo según la dirección del tejido.
Por ejemplo: Un punto concha trabajado en top down se verá “invertido” respecto de uno tejido bottom up. Si tu diseño incluye motivos que necesitan orientación específica, este tipo de construcción te permitirá mostrarlos correctamente. Elegir la dirección adecuada puede marcar una gran diferencia en la estética final.
Stitch Considerations
One key aspect to consider in bottom-up construction is how the right side of the stitch pattern will appear. In crochet especially, certain textures can look completely different depending on the direction you work. For example:
A shell stitch worked top down will appear “upside down” compared to one worked bottom up.
If your design includes motifs that require a specific orientation, this type of construction will help you display them correctly.
Choosing the right direction can make a big difference in the final look of your piece.
La construcción Bottom Up ofrece una base sólida, fácil de visualizar y muy adaptable para quienes disfrutan planificar cada parte del proyecto antes de comenzar: desde el juego de texturas hasta el control del largo, pasando por la libertad para trabajar mangas de distintas formas, este método demuestra por qué ha permanecido como un clásico en el mundo del tejido.
Explorar diferentes direcciones de construcción no solo amplía tus habilidades técnicas, sino que también te ayuda a conectar de manera más profunda con tus prendas. Te permite elegir con intención, crear con propósito y disfrutar cada etapa del proceso.
Si te interesa aprender más sobre construcciones, puntadas o diseño de prendas, estaré compartiendo otras construcciones de tejido en mi blog muy pronto.
¡Déjame tus impresiones!
The Bottom Up construction offers a solid, easy-to-visualize and highly adaptable foundation for those who enjoy planning each part of the project before beginning. From exploring textures to controlling the length, and even deciding how to work the sleeves, this method shows why it has remained a timeless classic in garment making.
Exploring different construction methods not only expands your technical skills, but also helps you connect more deeply with your garments. It allows you to choose with intention, create with purpose, and enjoy every stage of the process.
If you’d like to keep learning about constructions, stitches, or garment design, I’ll be sharing more posts about crochet constructions on my blog very soon.
See you!