ANANDA COLLAR
Hola Anandinis!
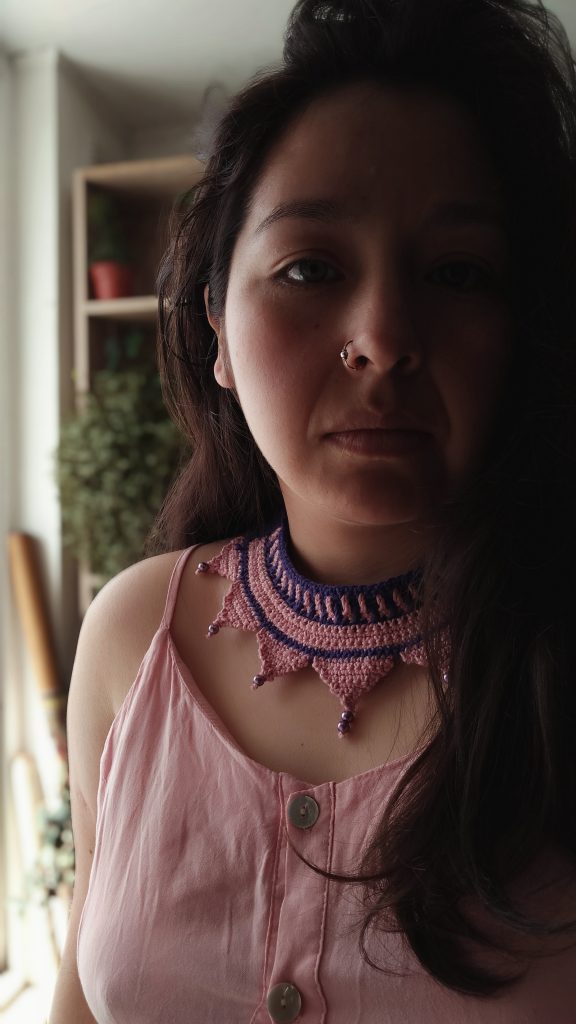
Hoy les traigo un entretenido tutorial de collar muy fácil de hacer. Como saben, siempre me gusta hacer accesorios que utilicen muy poco material y con los que pueden utilizar los restos que quedan de proyectos grandes.
Siempre me ha gustado hacer «Joyas» a crochet. Si ya me siguen hace un tiempo saben que tengo un par de tutoriales de joyas a crochet en mi canal de Youtube.
Y es que las joyas han formado parte de la historia de la humanidad desde sus inicios. En algunas culturas se cree que llevar un collar atrae inconscientemente la “Conciencia Divina”, que es a su vez transmitida a través de todo el cuerpo. Esta “conciencia” nos protegería de la energía negativa. También por ello existe la creencia de que hay colgantes que dan suerte o aportan cierta protección a la persona. Sin mencionar que el collar va en la zona de cuello, el lugar físico donde se produce el sonido y por donde comunicamos.
Hello Anandinis!
Today I bring you a fun and easy to make necklace tutorial. As you know, I always like to make accessories that use very little material and with which you can use leftovers from big crochet projects.
I have always liked to crochet «jewellery». If you have been following me for a while you know that I have a couple of crochet jewellery tutorials on my Youtube channel.
Jewellery has been part of human history since the beginning. In some cultures it is believed that wearing a necklace unconsciously attracts the «Divine Consciousness», which is in turn transmitted through the whole body. This «consciousness» would protect us from negative energy. This is also why there is a belief that there are pendants that bring luck or bring a certain protection to the person. Not to mention that the necklace goes on the neck area, the physical place where sound is produced and where we communicate.

Estuve leyendo que el hombre prehistórico descubrió en su entorno diferentes materiales, los cuales modificó convirtiéndolos en ornamentos que le permitieron simbolizarse dentro de su grupo social. Hoy la sociedad moderna aún hace uso de dichos ornamentos, los usa como emblema, como distintivo o como signo de poder y jerarquía, o hasta como simple adorno. En este sentido, usar collares tejidos creo que le dicen al mundo:»¡Hey! ¡soy tejedora y me hago mis propias joyas»!
I was reading about prehistoric man discovered different materials in his environment, which he modified by turning them into ornaments that allowed him to symbolise himself within his social group. Today modern society still makes use of such ornaments, using them as emblems, as badges or as signs of power and hierarchy, or even as simple ornaments. In this sense, wearing crochet necklaces I think says to the world: «Hey, I’m a crocheter and I make my own jewellery»!
Entonces, no hay nada mejor que usar tu propio collar tejido. Puedes también regalarlo a alguien especial.
¿Qué necesitarás?
-10 gr Color 1
-10 gr Color 2
-8 cuentas
Then, there is nothing better than wearing your own crocheted necklace. You can also give it as a gift to someone special.
What will you need?
-10 gr Colour 1
-10 gr Colour 2
-8 beads
El paso a paso, está en el video tutorial que les preparé con mucho cariño y podrán ver al final de este post
CONSIDERACIONES ANTES DE TEJER
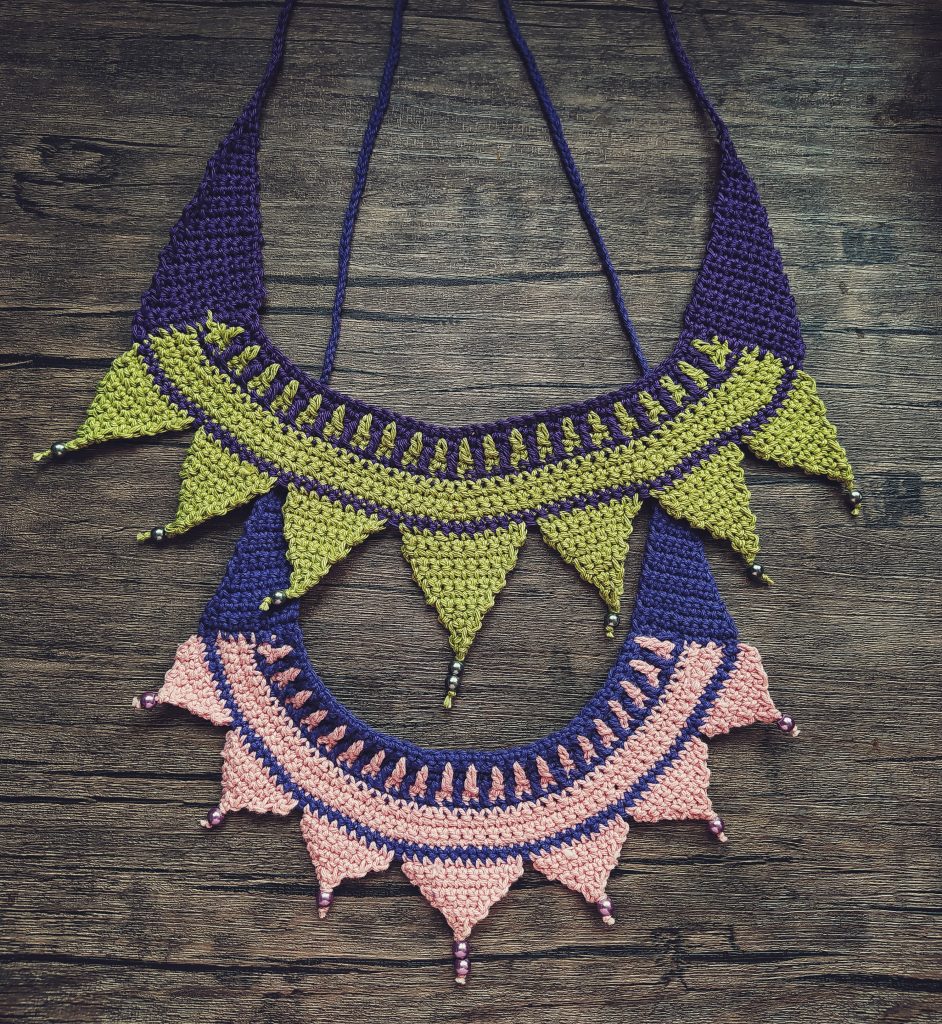
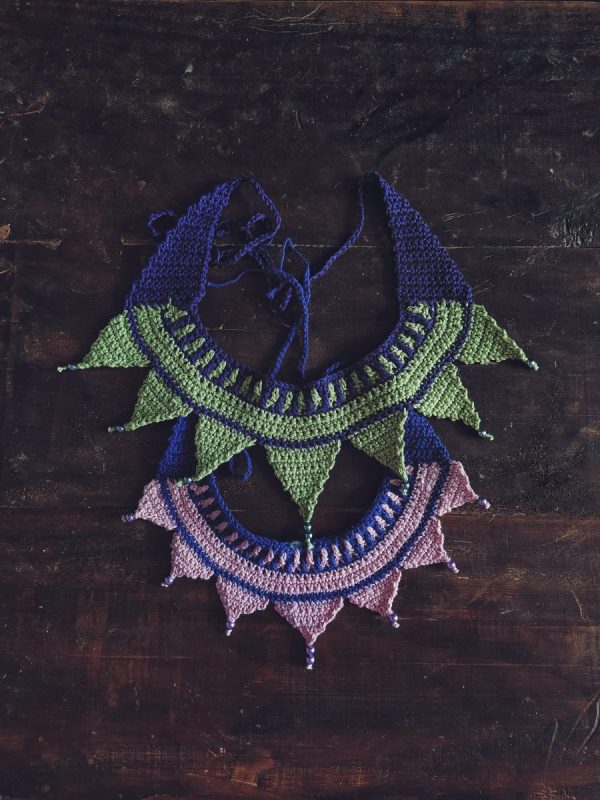
Hice dos muestras: 1 de color rosa con morado la cuál trabajé con un hilado grosor sport y otra verde limón con morado (que es la que ustedes verán en el video) la cuál trabajé con hilado grosor fingering.
The step by step is in the video tutorial that I prepared with much love and that you can see at the end of this post.
CONSIDERATIONS BEFORE CROCHETING
I made two samples: 1 pink with purple which I worked with a sport weight and another one lemon green with purple (which is the one you will see in the video) which I worked with a fingering weight.

Como pueden ver en la foto, aunque el collar rosado se hizo con un grosor más grande, el collar quedó más pequeño. Esto es porque utilicé un crochet un poco más pequeño que el recomendado para este grosor, y en consecuencia, el tejido quedó más apretado. Por el contrario, el verde limón que fue tejido con un grosor de hilado más pequeño, quedó más grande y alargado, esto fue porque utilicé un ganchillo más grande del recomendado para este grosor. Quize hacer estas pruebas para notar la diferencia entre uno y otra. Sabiendo esto, puedes eligir el que más te guste.
As you can see in the photo, although the pink necklace was made with a larger weight, the necklace is smaller. This is because I used a slightly smaller crochet hook than the one recommended for this weight, and consequently, the project was tighter. On the contrary, the lime green one , which was crocheted with a smaller weigth, is bigger and longer, this was because I used a bigger crochet hook than the recommended one for this weight. I wanted to do these tests to see the difference between one and the other. Knowing this, you can choose the one you like the most.
ABREVIATURAS QUE ENCONTRARÁS EN EL VIDEO/ ABBREVIATIONS YOU WILL FIND IN THE VIDEO
F1: Fila 1
LD: Lado derecho del tejido
LR: lado revés del tejido
C1/C2: Color 1/2
cad: cadeneta
pb: punto bajo
pa: punto alto
salt 1p: salta 1p
R1: Row 1
WS: Wrog side
RS: Right side
C1/C2: Colour 1/2
ch: chain
sc: single crochet
dc: double crochet
sk 1st: skip 1 st
Cuéntame qué te pareción este tutorial! ¿Lo tejerás?
Tell me what you think about this new tutorial!

