Pantuflas invernales

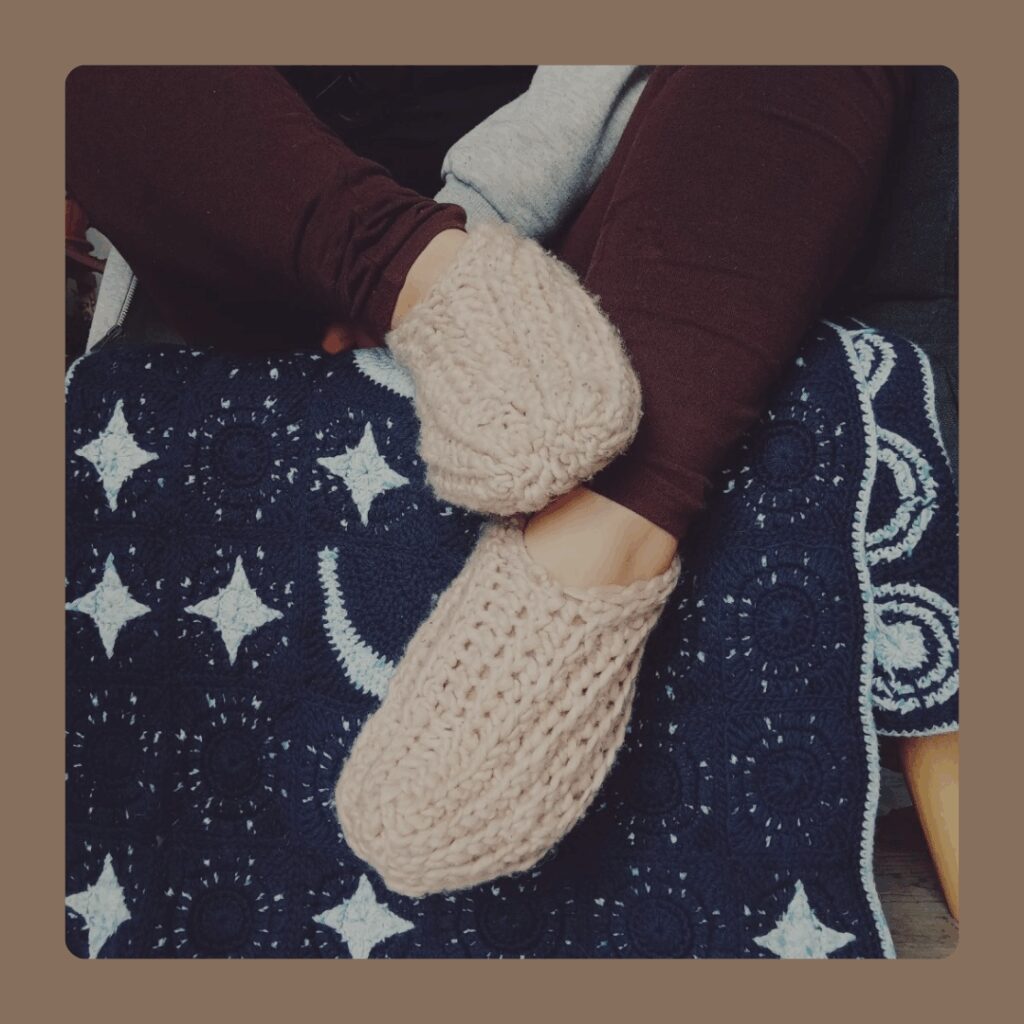
Hace mucho tiempo que no pasaba por acá. Hoy vengo con un posteo para enseñarte de manera fácil, cómo hacer estas adorables, abrigadas pero sobre todo fáciles pantuflas invernales, ¿te gustaría aprender cómo hacerlas? ¡Pués vamos!

It’s been a long time since I’ve been here. Today I come with a post to show you in an easy way, how to make these adorable, warm but above all easy winter slippers, would you like to learn how to make them? Let’s go!

Comenzamos.

Lo primero que debes saber, es que este patrón no necesita muestra, ya que podrás hacerlo con el material que tengas disponible. Sólo debes utilizar un ganchillo con el que te sientas cómoda de acuerdo a tu tensión y al grosor de tu hilado. 

Comienzas tejiendo una cantidad de cadenetas que sea igual al largo de tu pie, como se muestra en la imagen.

Let’s start.

The first thing you should know is that this pattern doesn’t need a swatch gauge, since you can make it with whatever material you have available. You just need to use a crochet hook that you feel comfortable with according to your tension and the weigth of your yarn. 

You start by working a number of chains equal to the length of your foot, as shown in the picture.

Luego vas a dividir la cantidad de cadenetas que tengas en 3 partes iguales. Por ejemplo, en mi caso con mi hilo y mi largo de pié obtuve 24 cadenetas; éstas las divido en 3, lo que resulta en 8 puntos para cada sección y comienzo a tejer el primer tercio con puntos deslizados tomando sólo la hebra trasera, y el resto de los 2 tercios que faltan, los tejo con puntos bajos tomando sólo la hebra trasera.

Then you are going to divide the number of chains you have into 3 equal parts. For example, in my case with my yarn and my foot length I got 24 chains; I divide them in 3, which results in 8 stitches for each section and I start crocheting the first third with slip stitches back loop only, and the rest of the 2 remaining thirds I work with single crochet back loop only

Repites esto por tantas filas sean necesarias para darle la vuelta a tu pié, a lo ancho. Recuerda que este punto es bastante elástico así que  no tengas miedo de estirarlo para llegar al ancho necesario. Dependerá de ti si la primera cadeneta cuenta como punto o no 🙂

Repeat this for as many rows as it takes to turn your foot, widthwise. Remember that this stitch is quite stretchy so don’t be afraid to stretch it to reach the necessary width. It’s up to you whether the first chain counts as a stitch or not 🙂

UNIÓN- JOIN

Aquí llegamos al final. Ahora uniremos nuestro trapecio. En la parte más ancha, que corresponde a las filas de puntos bajos, doblarás a la mitad y cocerás ambas mitades en una sola. Luego desde la parte más angosta que corresponde a las filas de puntos deslizados, doblarás a la mitad y coserás ambas mitades por los primeros dos tercios de tu tejido. El último tercio que queda, es por donde entrará tu pié… y listo!

Here we come to the end. Now we will join our trapezoid. At the widest part, which corresponds to the single crochet rows, you will fold in half and sew both halves into one. Then from the narrowest part, which corresponds to the rows of slip stitches, you will fold in half and sew both halves together for the first two thirds of your fabric. The last remaining third is where your foot will enter… and that’s it!

Te dejo por aquí el link al video de tiktok donde podrás ver mejor cómo se une. ¡Espero te haya gustado y lo puedas hacer!

I leave here the link to the tiktok video (only in Spanish) where you can see better how to join it, I hope you liked it and you can do it!