

FREE PATTERN: Indra Hat y #YoTejoParaTi
Buen día mi querida comunidad crochetera! Lo que nos reune hoy es un tema muy lindo con un proyecto muy […]
FREE PATTERN: Indra Hat y #YoTejoParaTi Leer más »
Buen día mi querida comunidad crochetera! Lo que nos reune hoy es un tema muy lindo con un proyecto muy […]
FREE PATTERN: Indra Hat y #YoTejoParaTi Leer más »
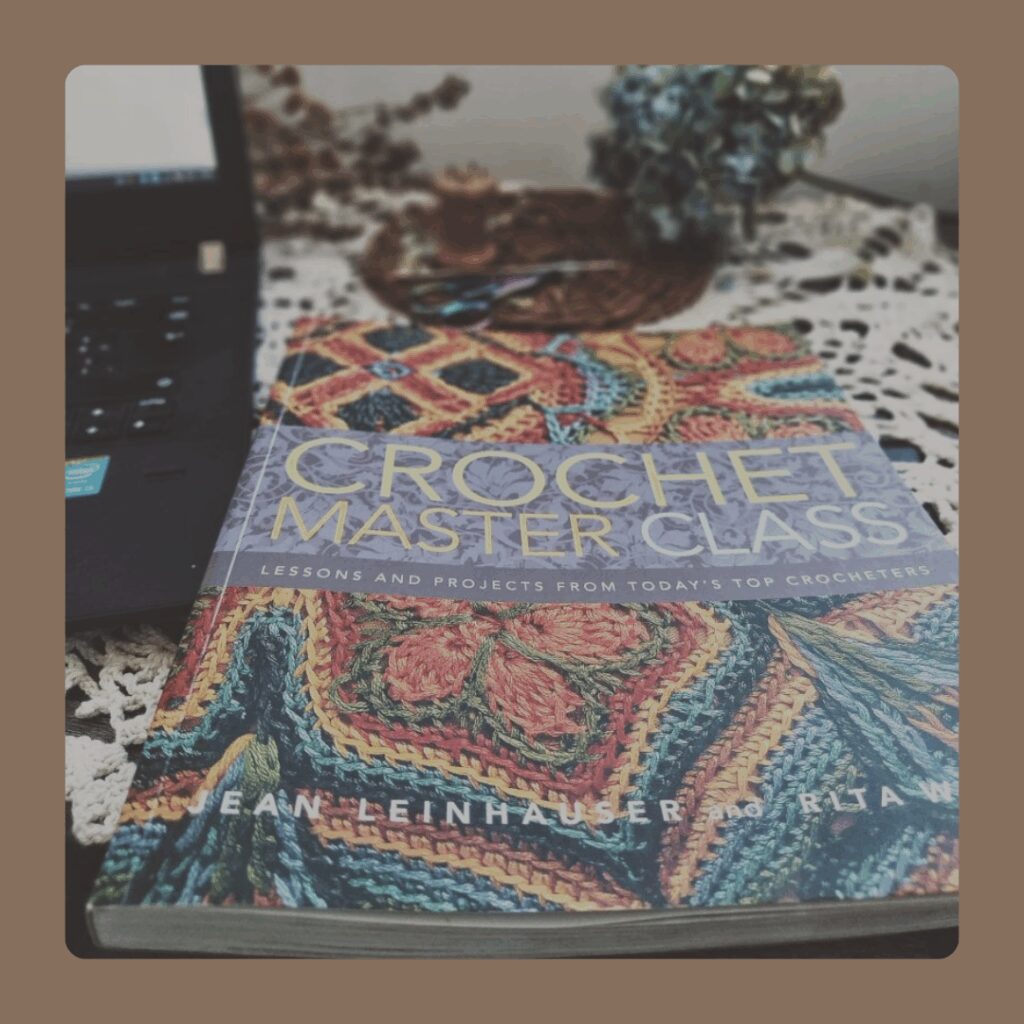
Facebook Youtube Instagram Ravelry Nos encontramos una vez más en el blog! Con mucha alegría les traigo la última parte
BOOK REVIEW: CROCHET MASTER CLASS P3 Leer más »

Facebook Youtube Ravelry Instagram Hola otra vez por acá! Aprovecho de darles mis mejores deseos para ustedes, este nuevo año
BLOG: Maya Top, Una nueva aventura Leer más »