
The Crochet Lab
¿The Crochet Lab? Es un espacio de aprendizaje, exploración y experimentación donde tejemos juntas un proyecto paso a paso. Pero […]
¿The Crochet Lab? Es un espacio de aprendizaje, exploración y experimentación donde tejemos juntas un proyecto paso a paso. Pero […]

Mi última contribución, esta vez para I Like Crochet ya ha salido! Estoy muy contenta de presentarles este nuevo diseño
BLOG: Pink Twist Cardigan y Arán crochet Leer más »
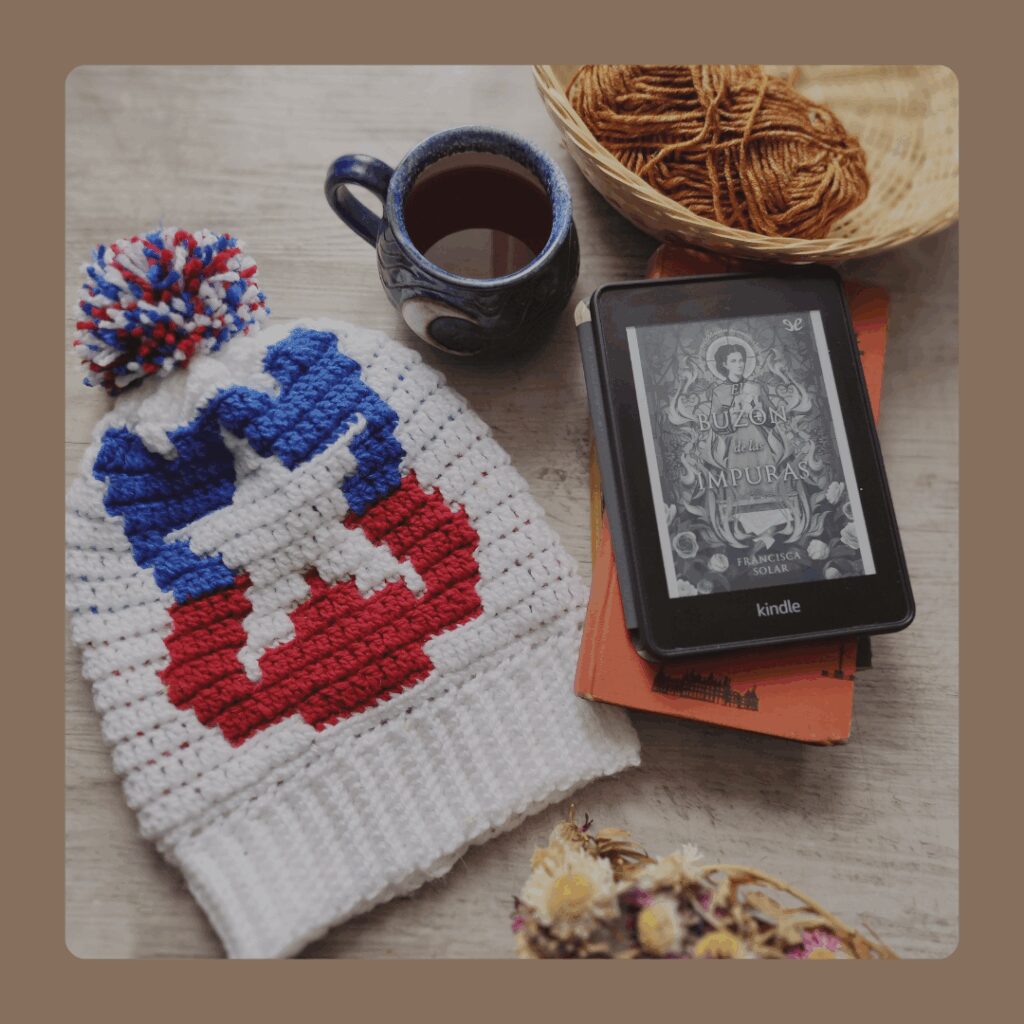
MATERIALES Revesderecho «Colors»; 100% acrílico; 100g/ 250mCOLOR 1: 0801 BLANCOCOLOR 2: 0073 ROJO ITALIANOCOLOR 3: 0817 AZUL REY. Necesitarás 100g
PATRÓN GRATUITO: GORRO DIECIOCHERO Leer más »
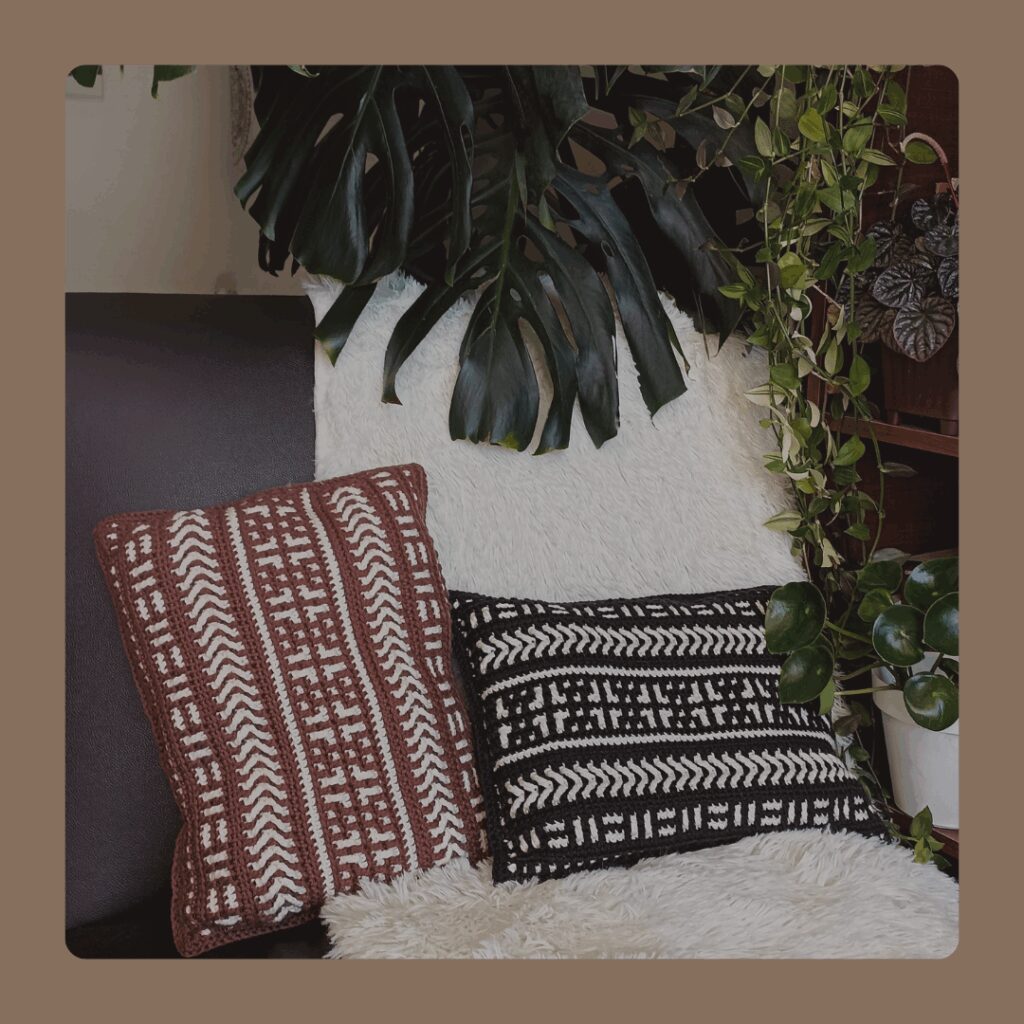
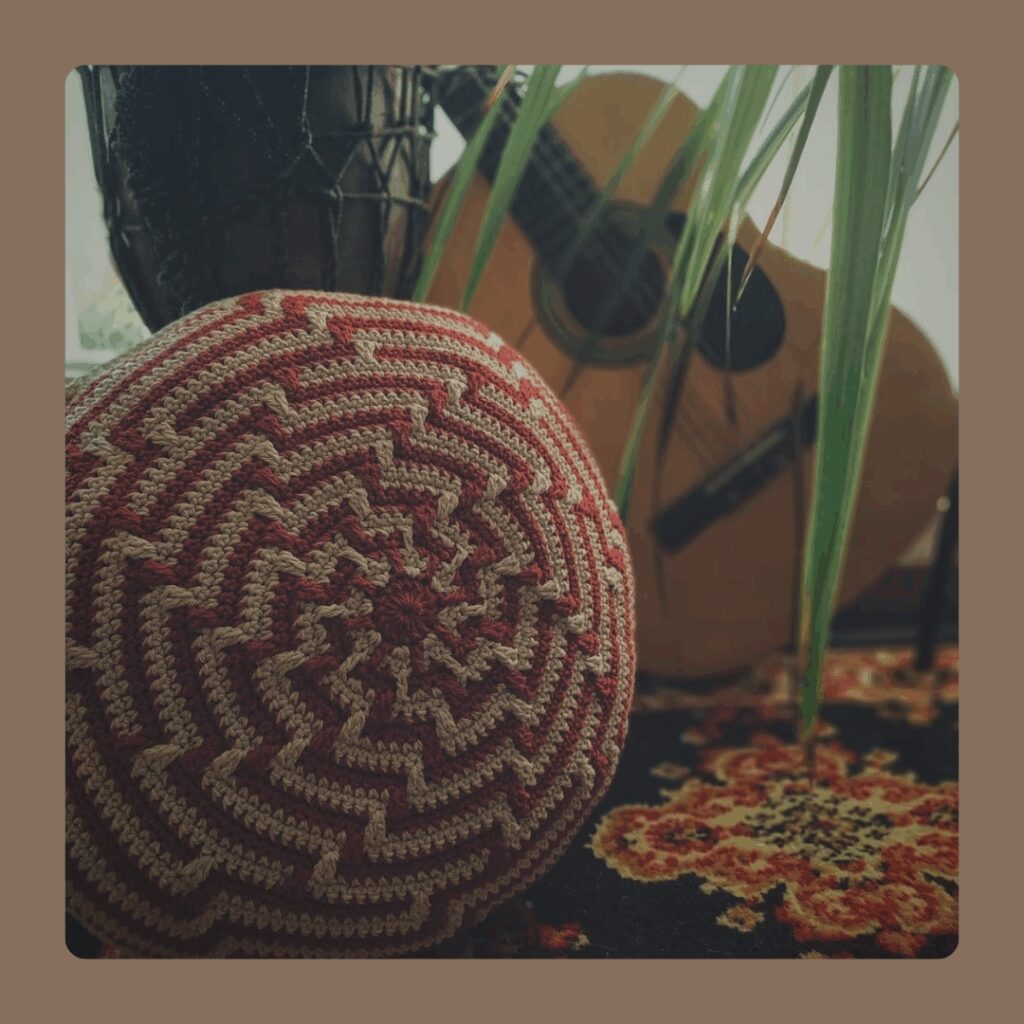
Hola queridxs Anandinis! Hace un tiempo que nos les traía un diseño gratuito, así que hoy les traigo AUTÓCTONO CUSHION
FREE PATTERN: AUTÓCTONO CUSHION Leer más »
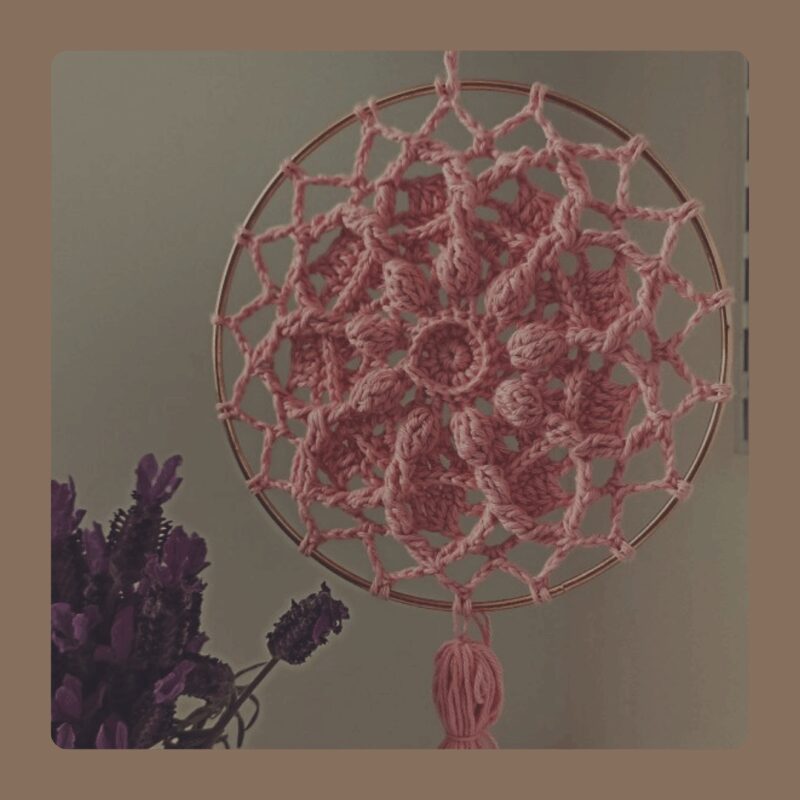
Hola queridxs Anandinis <3 nos vemos una vez más por acá, esta vez para traerles un entretenido tutorial de «Un
FREE PATTERN: Un pequenio Mandala Leer más »
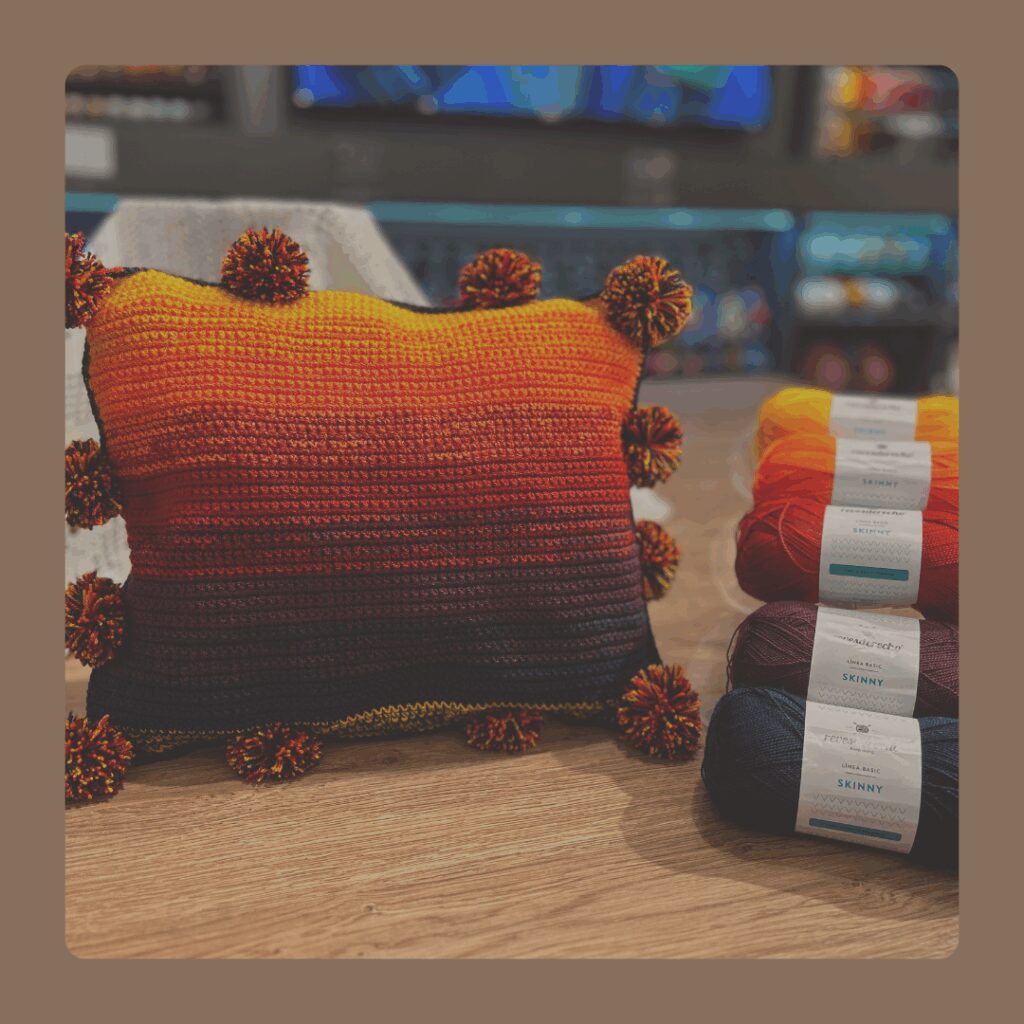
FADE CROCHET Hola queridxs Anandinis <3 Retomando un poco el blog, creí que sería bueno hablarles sobre una técnica de
FREE PATTERN: Sunset Pillow- fade colors Leer más »
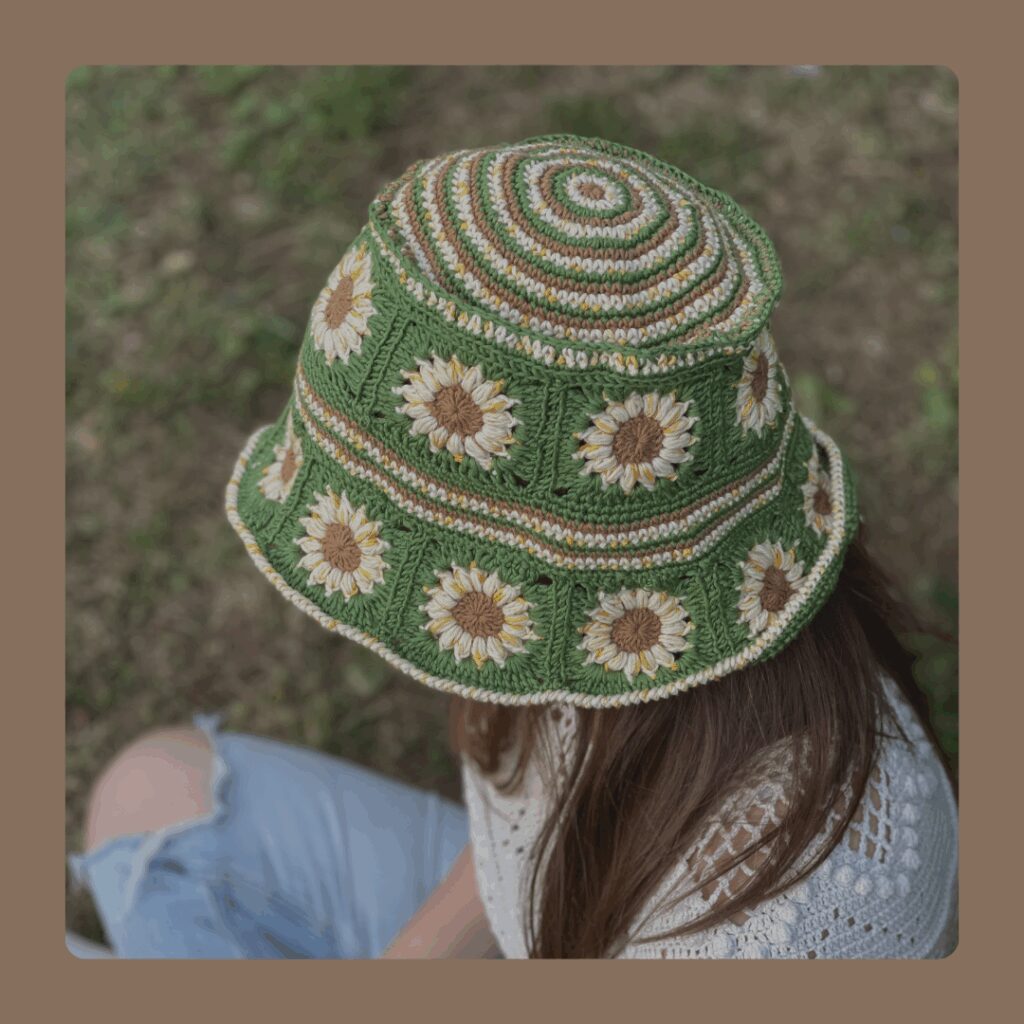
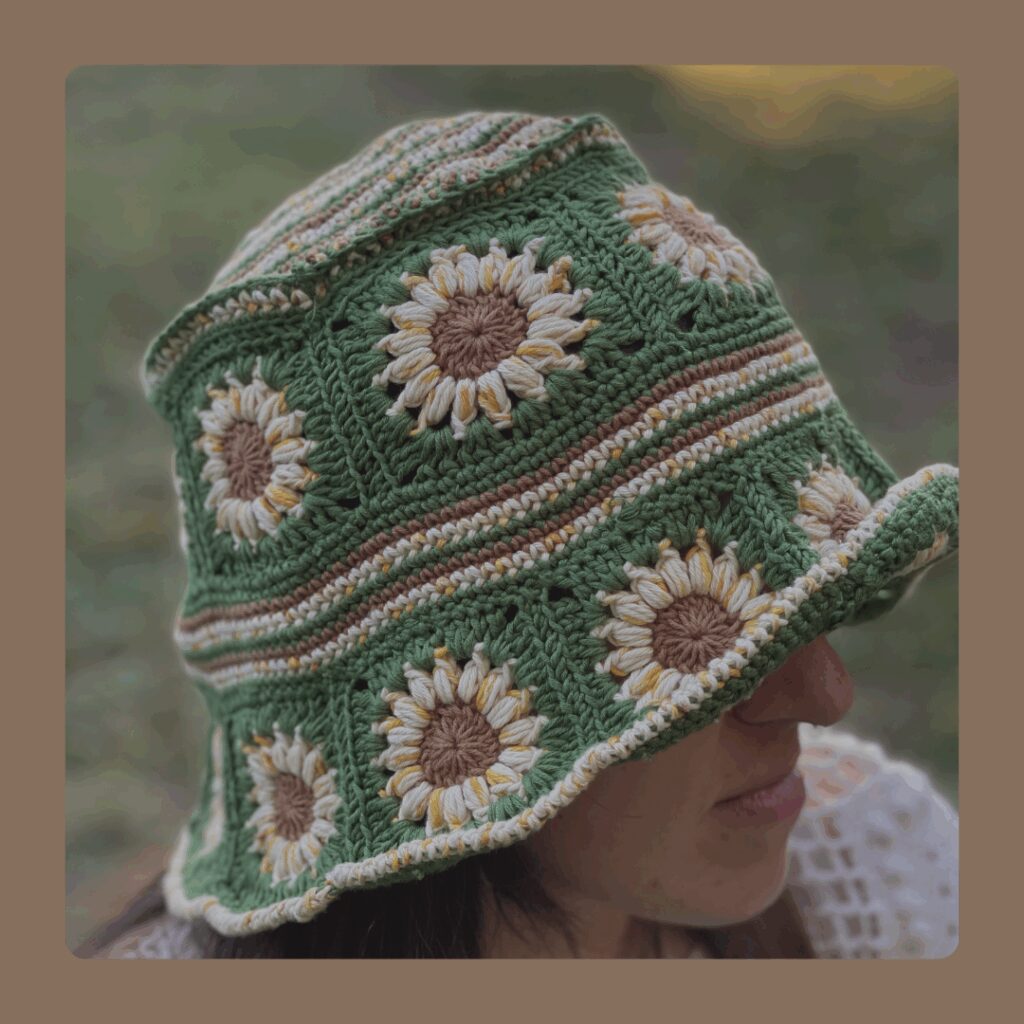
Hola Anandinis!Ya estamos listas con las segunda parte y final del Bucket Hat 🙂 Estoy muy contenta de ver los
FREE PATTERN: BUCKET HAT PARTE 2 Leer más »
Hola Queridxs Anandinis! 🙂 Estoy muy contentas de tenerles por aquí nuevamente. Hoy les comparto la primera parte para hacer
FREE PATTERN: BUCKET HAT- PARTE 1 Leer más »
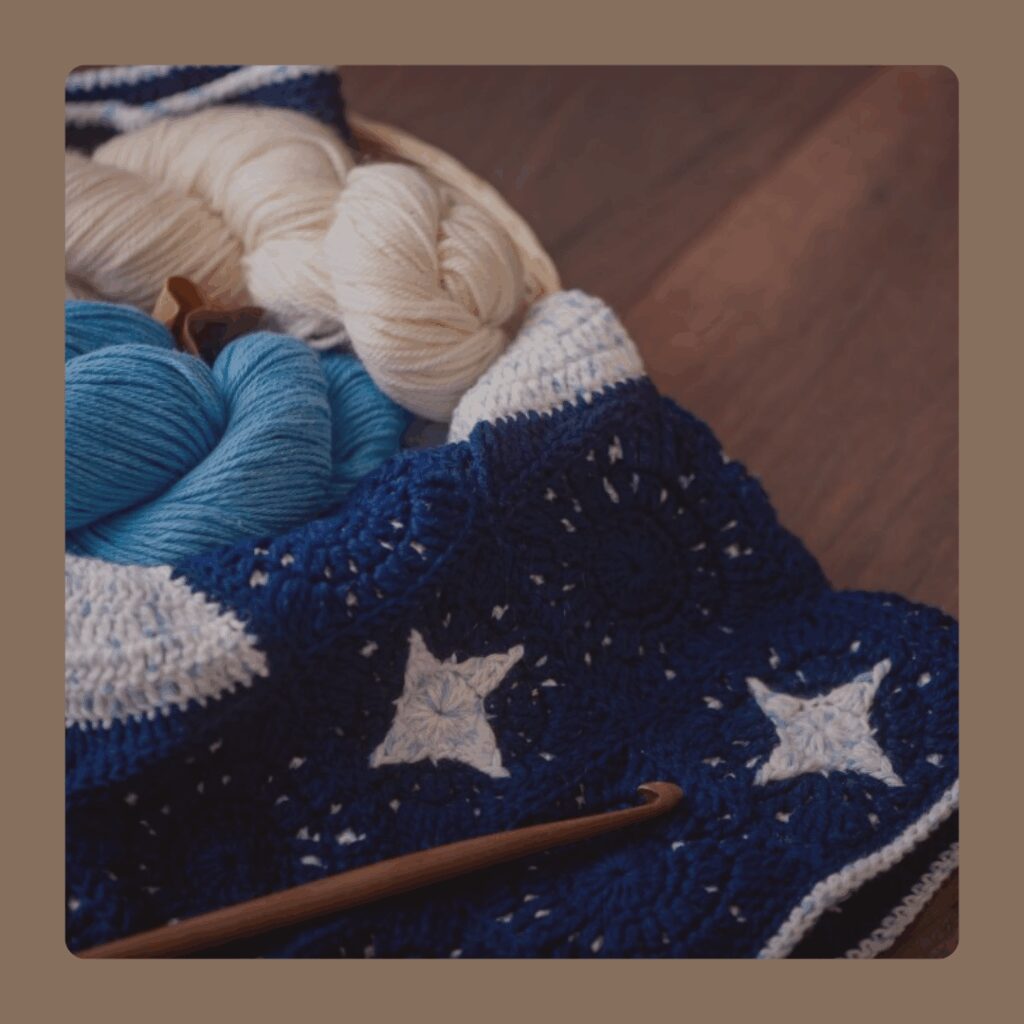
Hola Anandinis! Nos encontramos nuevamente en la semana númeor 2 de nuestro CAL. Espero que muchas de ustedes ya tenga
LUNAR BLANKET CAL- Week 2: SKY Leer más »
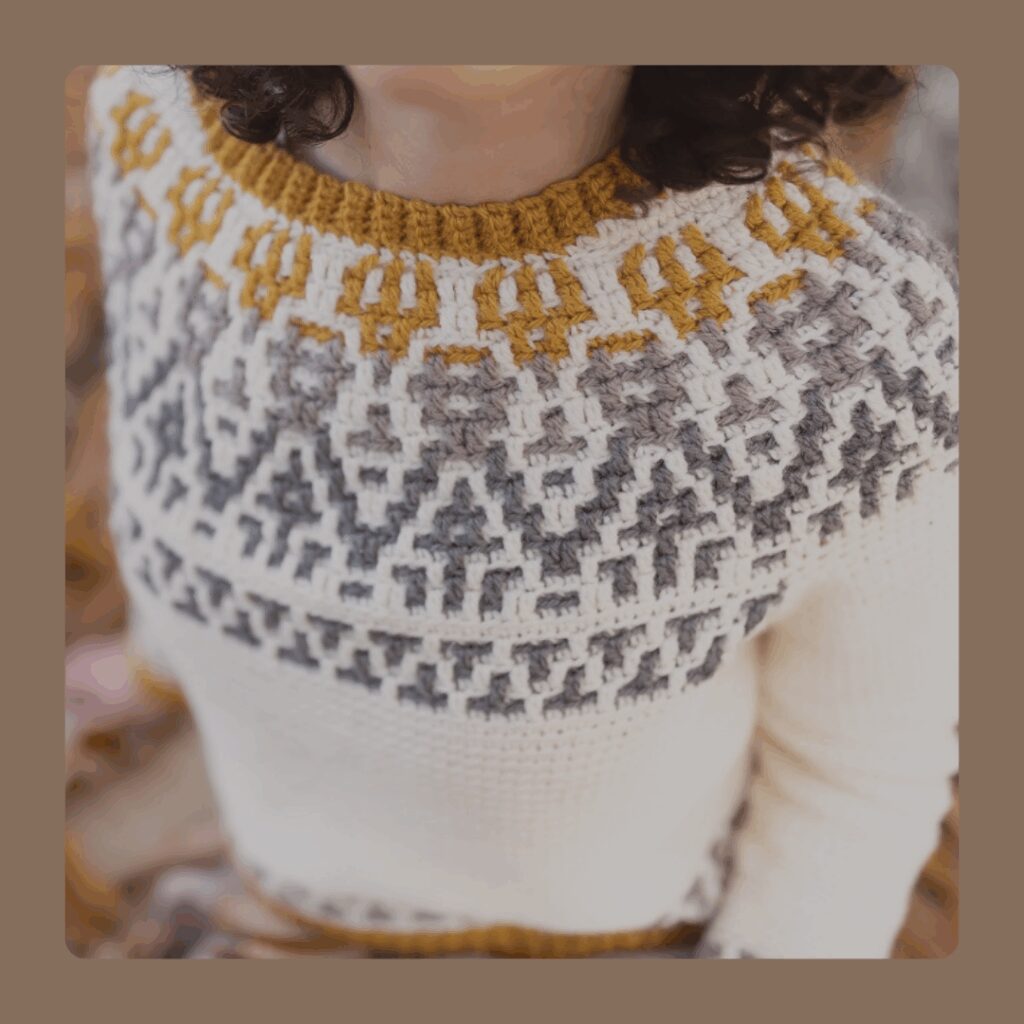
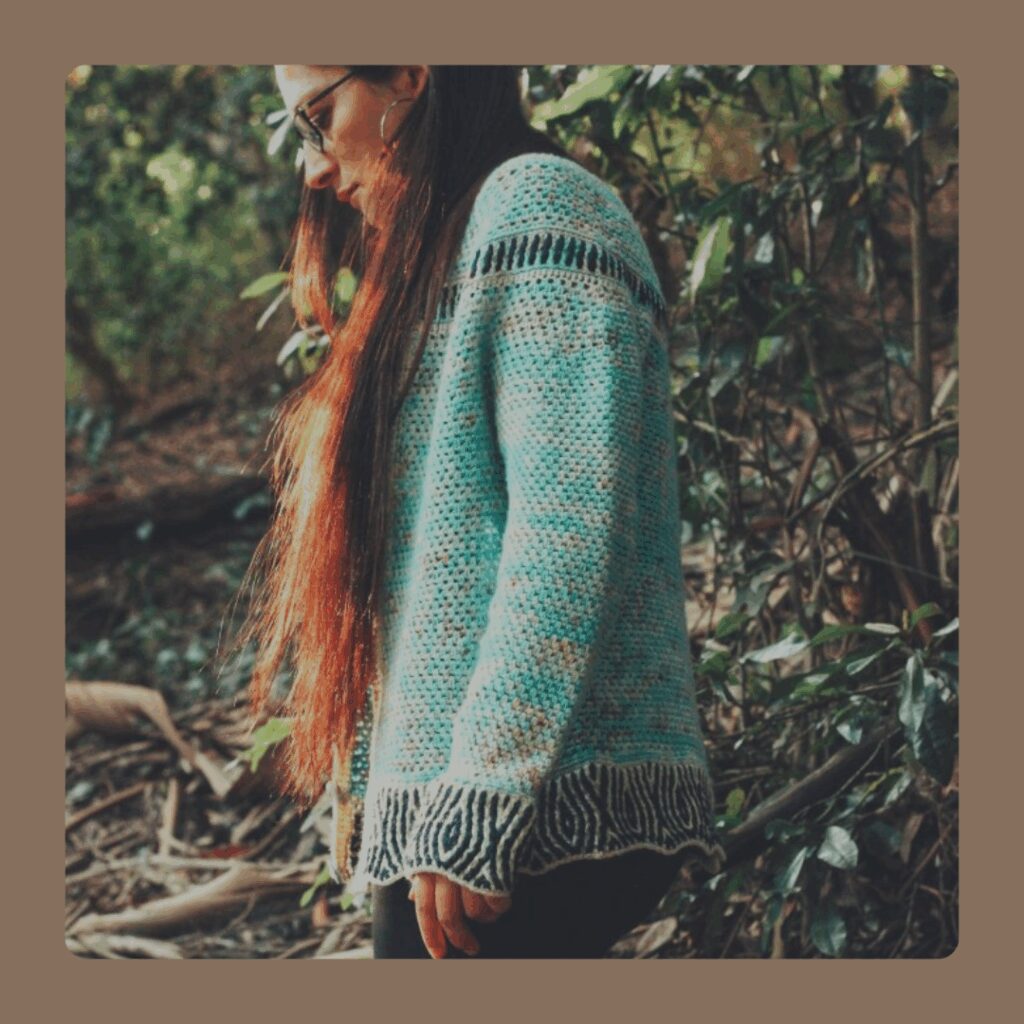
Nos encontramos una vez más querida comunidad crochetera! Estoy muy contenta de poder contarles la inspiración y el proceso de
BLOG: Sweater ANDES Leer más »
Nos vemos nuevamente querids lectors, tejedors y creadors! Hace mucho tiempo no organizaba un CAL, y la verdad es que
FREE PATTERN: ALQUIMIA CAL- PARTE 1 Leer más »
Facebook Youtube Ravelry Instagram Hola otra vez por acá! Aprovecho de darles mis mejores deseos para ustedes, este nuevo año
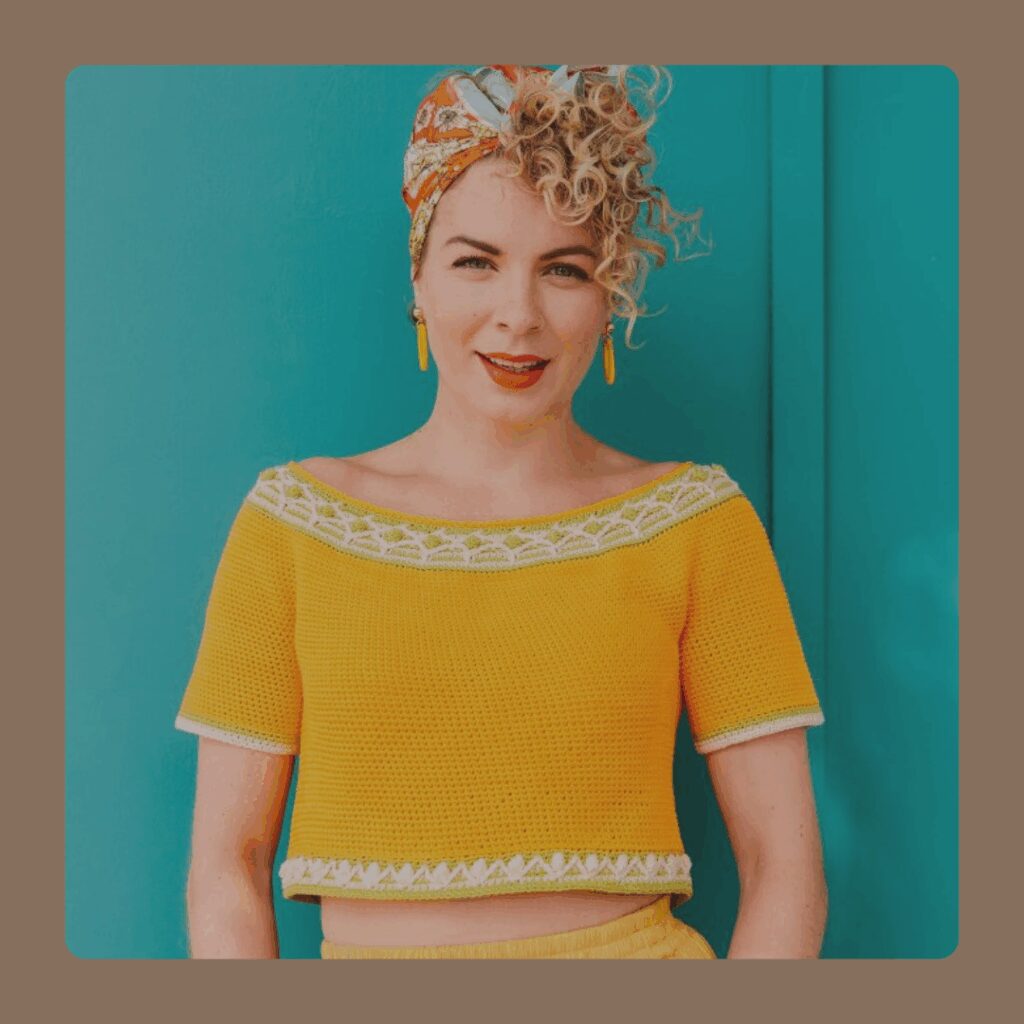
BLOG: Maya Top, Una nueva aventura Leer más »
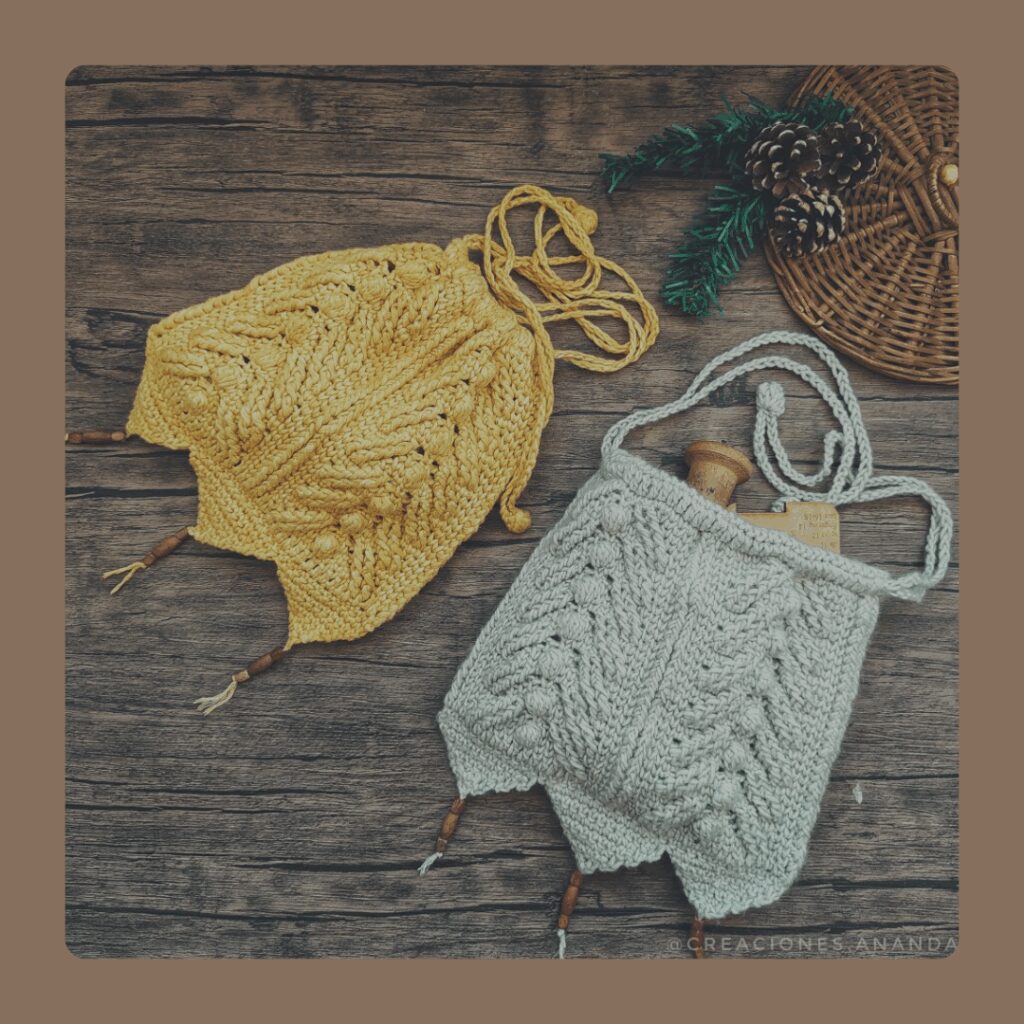
Facebook Youtube Instagram Ravelry Hola una vez más mis queridas y queridos tejedores/as 🙂 Les traigo otro tutorial muy entretenido
FREE PATTERN: PANDORA BAG Leer más »
Hola otra vez! Mi nombre es Yessabett Bueno (por si aún no me conoces) y hoy soy diseñadora en crochet.
BLOG: Essencial Cardigan Leer más »