El diseño de patrones en crochet es un arte que combina habilidades técnicas con creatividad. En este blog, nos sumergiremos en el proceso creativo detrás de la creación de patrones en crochet, explorando desde los primeros pasos hasta los detalles finales para ayudarte a convertir tu visión en un patrón auténtico y claro.
Designing crochet patterns is an art that blends technical skills with creativity. In this blog, we’ll delve into the creative process behind creating crochet patterns, exploring from the initial steps to the finer details to help you turn your vision into an authentic and clear pattern.
1. Conceptualización y Bocetos: Comenzando el Proceso Creativo/ Conceptualization and Sketches: Beginning the Creative Process
Inspiración
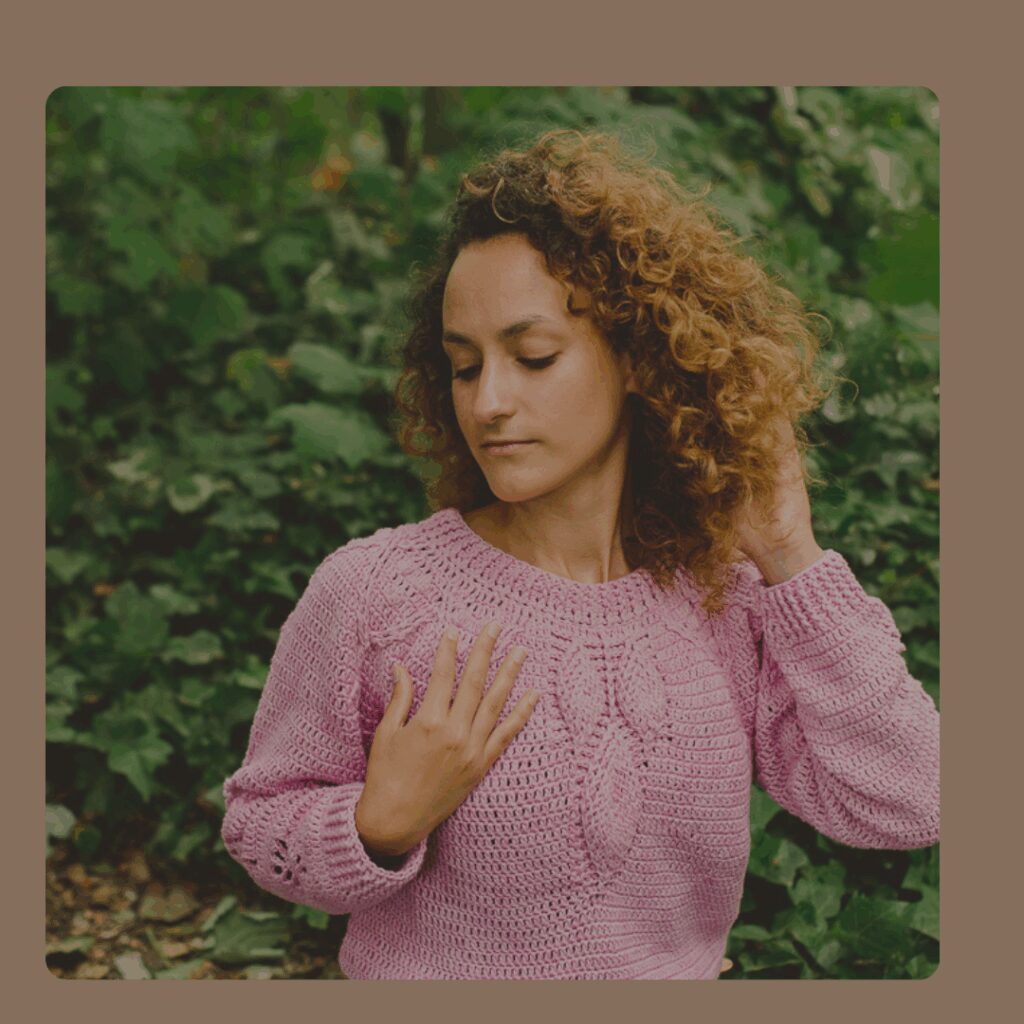
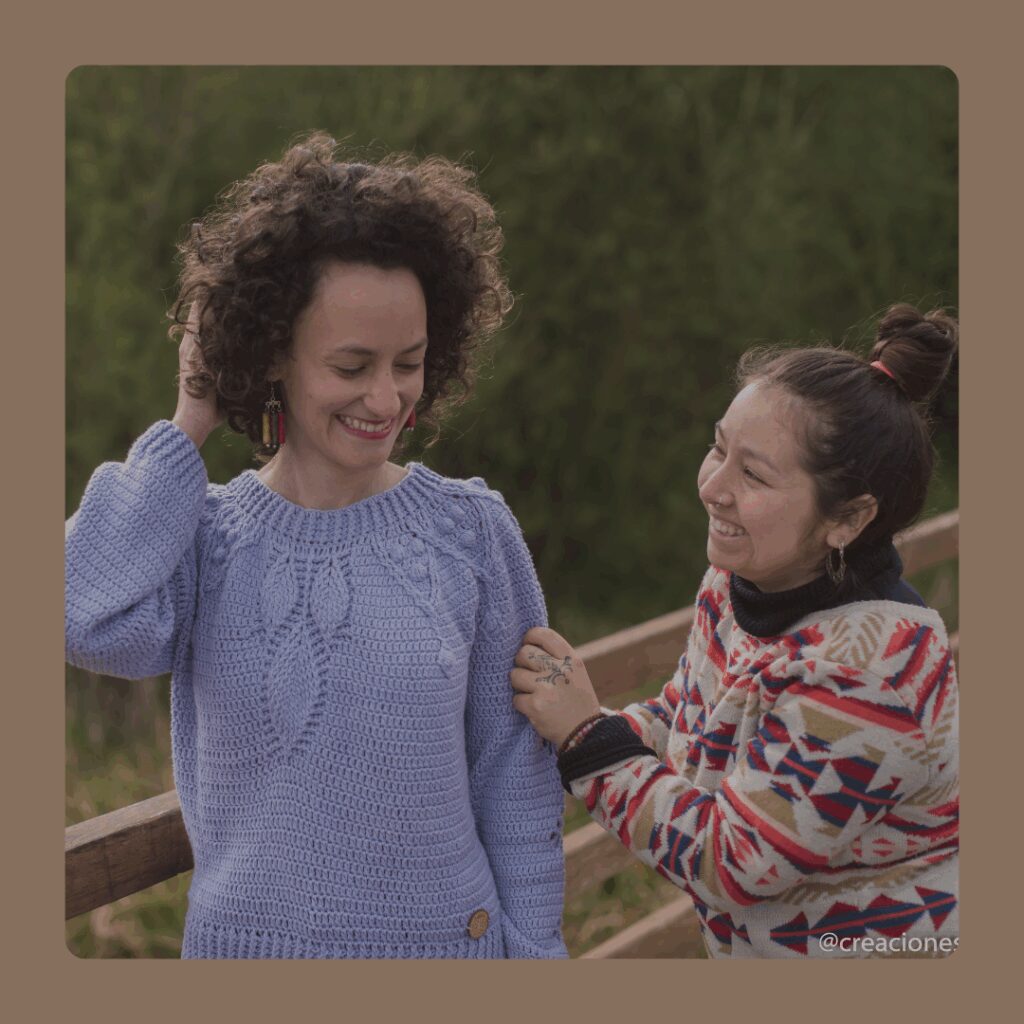
¿En qué te inspiras? Esta es una oportunidad de dejar fluir todas esas ideas que estuvieron rondando tu mente, ya sea un color, una técnica, la naturaleza, una persona, una sensación, etc. Tráela y comencemos a concretar.
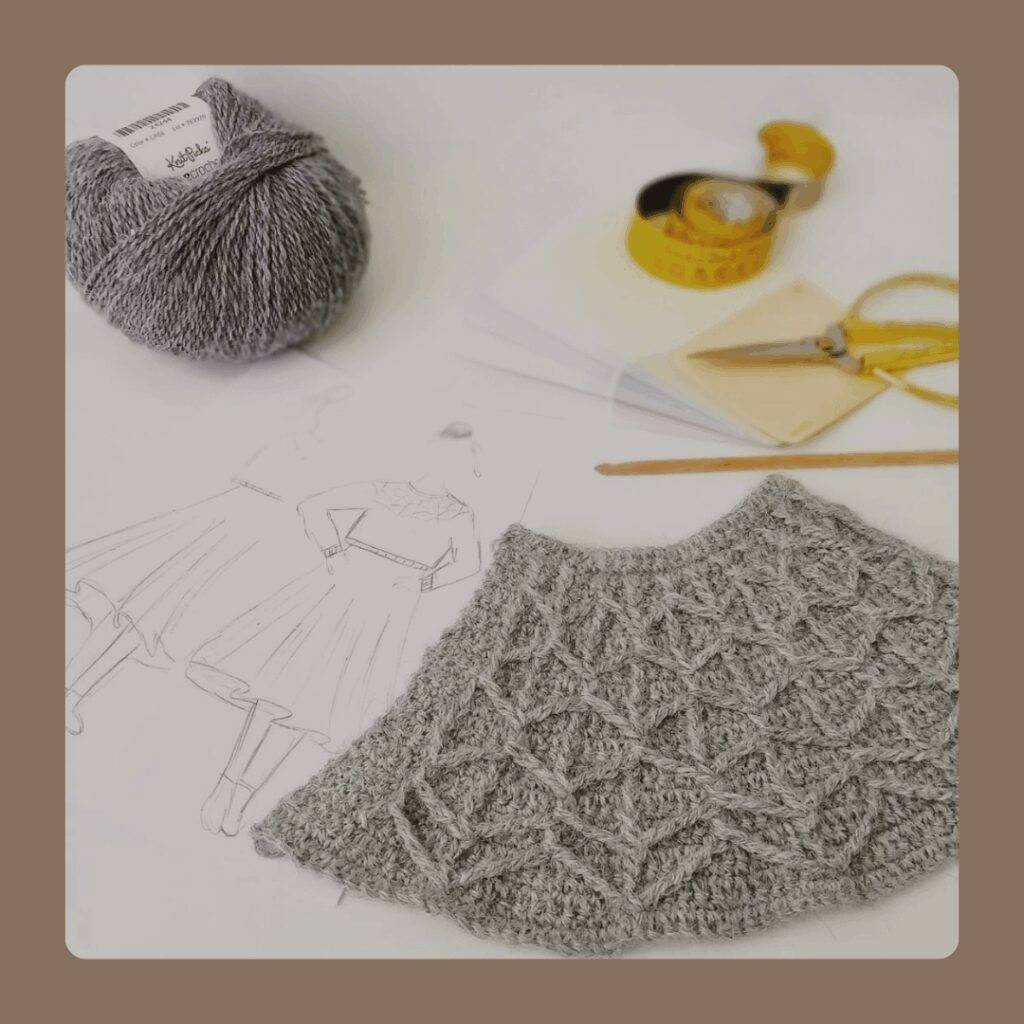
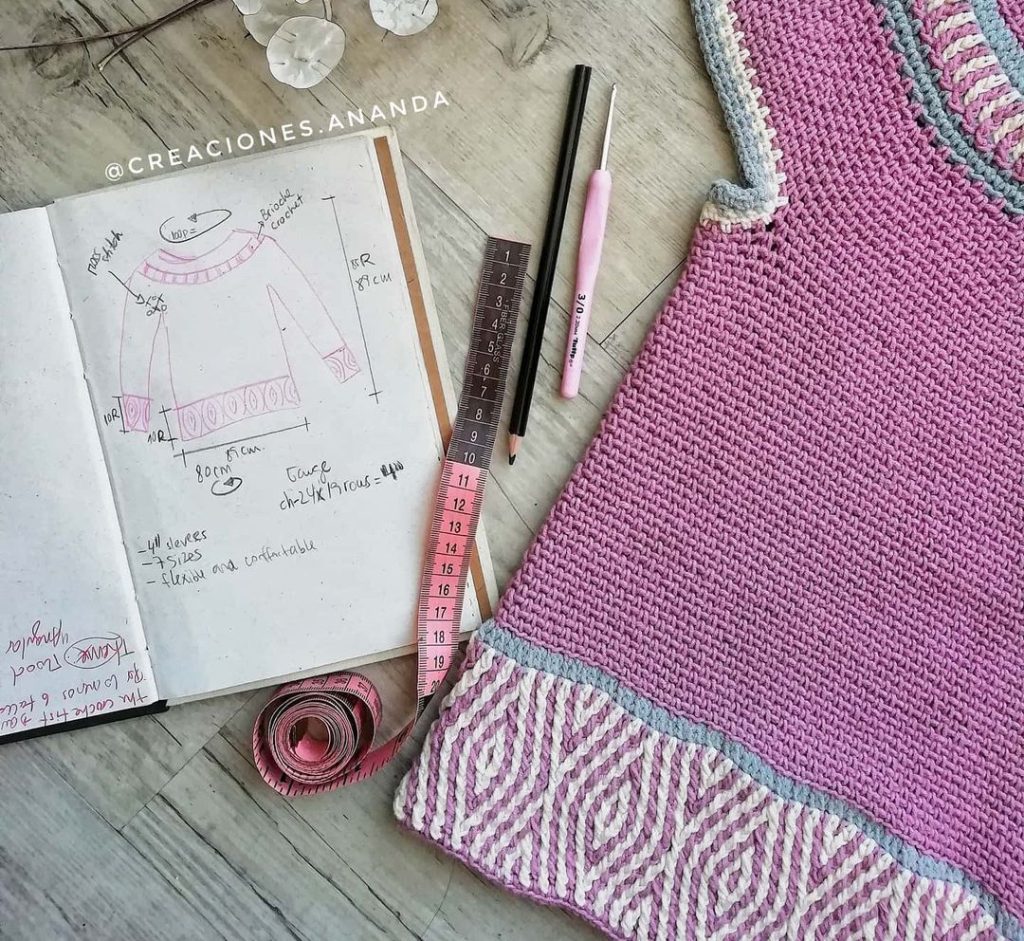
Conceptualizar una idea y plasmarla en bocetos
Esto implica explorar el proceso de tomar una idea abstracta (como tu inspiración) y convertirla en representaciones visuales a través de bocetos. Se trata de comenzar con los pasos para generar ideas, desglosarlas en componentes más pequeños y darles forma gradualmente en un diseño tangible en papel o de manera digital. Tenemos que enfatizar la importancia de capturar la esencia de la idea en estos bocetos iniciales, incluso si son borradores simples (no necesitas saber dibujar), especialmente para tener una visión más acertada de los o el color perfecto para éste o si tu diseño llevará alguna aplicación y dónde, o si será oversized o no, etc.
Anotar detalles como materiales, medidas y puntos clave
Es crucial llevar registros detallados de los materiales requeridos (tipos de hilos (fibra y grosor), tamaños de ganchillo, adornos adicionales como mostacillas u otros), medidas precisas (si se crean prendas o artículos de tamaños específicos) y puntos clave/elementos de patrones que definen el diseño. Anotar ayuda a concretar, aunque todo esto se puede modificar luego.
Inspiration
What inspires you? This is an opportunity to let all those ideas that have been swirling in your mind flow freely, whether it’s a color, a technique, nature, a person, a sensation, etc. Bring it forth, and let’s start bringing it to life.
Conceptualizing an idea and translating it into sketches.
This involves exploring the process of taking an abstract idea (such as your inspiration) and turning it into visual representations through sketches. It’s about starting with steps to generate ideas, breaking them down into smaller components, and gradually shaping them into a tangible design on paper or digitally. We need to emphasize the importance of capturing the essence of the idea in these initial sketches, even if they are simple drafts (you don’t need to know how to draw), especially to have a more accurate vision of the perfect color for this or if your design will have any application and where, or if it will be oversized or not, etc.
Note down details such as materials, measurements, and key points.
It’s crucial to keep detailed records of the required materials (types of threads (fiber and thickness), crochet hook sizes, additional embellishments like beads or others), precise measurements (if creating specific-sized garments or items), and key points/pattern elements that define the design. Noting these details helps solidify the plan, although all of this can be modified later on.
2. Selección de Puntos y Texturas: Transformando tu Idea en Tejido / Stitch Selection and Textures: Transforming Your Idea into Fabric
Autoconocimiento
Antes de comenzar cualquier otra cosa, debes tener en cuenta cuál es tu conocimiento hasta ahora. Eso evitará frustración y abandono de tu proyecto.
Este ejercicio de hacer conciente qué sabes y qué no, nos va a direccionar en el camino correcto ya que siempre habrán retos cuando queremos incursionar en algo que desconocemos (si es tu primera vez diseñando).
A menudo solemos darnos por vencidos si creemos que es algo sobrepasa nuestra competencia .
La desmotivación viene también porque solemos compararnos con alguien más o queremos hacer grandes cosas de inmediato cuando ni siquiera hemos empezado y no sabemos cómo hacerlo. Por eso es tan importante saber lo que temenos y sabemos para comenzar desde ahí y evitar frustrarnos.
Diseñar; más que crear algo nuevo, es componer y reinventar con lo que temenos a mano. Nuestro conocimiento y el entendimiento de éste es nuestro principal recurso de creación.
Exploración en la elección de puntadas
Este proceso implica una cuidadosa consideración de los puntadas utilizadas y cómo se combinan para crear texturas y patrones únicos. La elección de puntos, ya sean simples o complejos, y cómo se alternan o se superponen, e incluso el grosor de hilado elegido tiene un impacto directo en la apariencia general y la sensación táctil del tejido final.
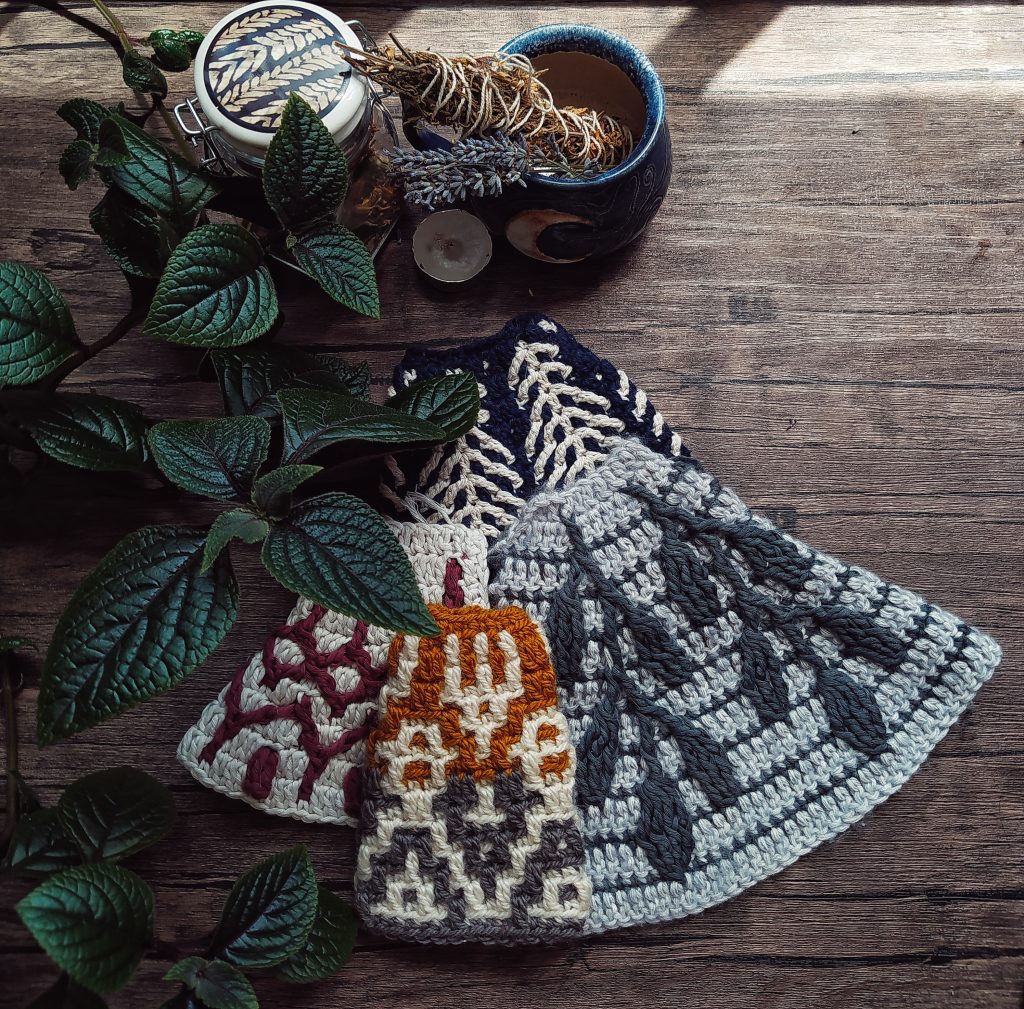
Jugar con las muestras
Hacer varias muestras, nos dirá cómo un mismo diseño puede variar según los puntos y colores utilizados:
Aquí se trata de experiementar ejemplos visuales concretos para ver cómo un diseño base puede transformarse significativamente al aplicar diferentes combinaciones de puntos y colores. Un diseño tejido con distintos tipos de puntos (punto alto, punto bajo, punto de relieve, etc.) y colores (tonos contrastantes, paletas monocromáticas, combinaciones vibrantes). Estos ejemplos demostrarían cómo cada elección influye en la apariencia final de la pieza, desde cambios sutiles hasta transformaciones radicales que pueden dar lugar a un diseño completamente diferente aunque partan del mismo patrón base.
self-awareness
Before starting anything else, you must consider what knowledge you already possess. This will prevent frustration and abandoning your project.
This exercise of becoming aware of what you know and what you don’t will guide us in the right direction because there are always challenges when venturing into something unfamiliar (especially if it’s your first time designing). We often give up if we believe it surpasses our abilities.
Demotivation also comes because we tend to compare ourselves to others or want to accomplish great things immediately when we haven’t even started and don’t know how to do it. That’s why it’s so important to know what we have and what we know to begin from there and avoid getting frustrated.
Designing; more than creating something new, is composing and reinventing with what we have at hand. Our knowledge and understanding of it are our primary creative resources.
Exploration in Stitch Selection
This process involves careful consideration of the stitches used and how they combine to create unique textures and patterns. The choice of stitches, whether simple or complex, and how they alternate or overlap, and even the thickness of the chosen yarn, has a direct impact on the overall appearance and tactile feel of the final fabric.
play with gauges
Creating several gauges will reveal how the same design can vary based on the stitches and colors used:
This is about experimenting with specific visual examples to see how a base design can significantly transform when applying different combinations of stitches and colors. A woven design with different types of stitches (double crochet, single crochet, relief stitch, etc.) and colors (contrasting tones, monochromatic palettes, vibrant combinations). These examples would demonstrate how each choice influences the final appearance of the piece, from subtle changes to radical transformations that can lead to a completely different design even though they originate from the same base pattern.
3. Refinando y Ajustando: Elaboración de un diseño a tu gusto / Refining and Adjusting: Crafting a Design to Your Liking
Cálculos
Una vez que ya tienes tu muestra lista, con el hilado, las puntadas y los colores listos, debes comenzar a calcular. No es tan dificil con la regla del 3 o proporciones directas, sólo debes tener establecidos cuántos puntos y filas tiene tu muestra en 10cm: por ejemplo
Mi muestra dice que en 10cm tengo 18 puntadas y 16 filas. y necesito comenzar con la medida de mi cintura (la mido y tengo 103 cm de circunferencia), entonces debo calcular cuántos puntos necesito trabajar para conseguir 103 cm.
pts cm
Muestra: 18 = 10
Prenda: X = 103
Desde aquí multiplico cruzada la información que tengo (es decir, 18 x 103 =1854, no podría haber multicplado 10 x «X» ya que no sé cuánto es «X»), y ese resultado se divide por el número que quedó (que es 10 en este caso) y nos queda en 185.4, eso lo redondeamos a 185, es decir que necesitaré trabajar 185 pts para conseguir 103cm.
Esto lo vas repitiendo con todas las medidas que necesites. Recuerda trabajar siempre la información de la muestra con puntos para las medidas horizontales y con la información de las filas para medidas verticales.
Hacer ajustes
Una vez teniendo esto y comienzas a tejer, puede que quieras hacer modificaciones y esto es más común de lo que crees (yo lo hago todo el tiempo). Si es así, no te preocupes! podemos salir del cuadrado y hacer algo más, ¡déjate llevar!
O quizás encuentres errores o inconsistencias mientras tejes, aquí es esencial documentar y aprender para solucionar estos problemas de manera clara. Lo importante es que tu estés cómoda con tu diseño
calculations
Once you have your gauge ready, with the yarn, stitches, and colors in place, it’s time to start calculating. It’s not too difficult with the rule of 3 or direct proportions, you just need to establish how many stitches and rows your sample has in 10 cm: for example,
My gauge indicates that in 10 cm, I have 18 stitches and 16 rows. And I need to start with the measurement of my waist (I measure it and it’s 103 cm in circumference), so I need to calculate how many stitches I need to work to achieve 103 cm.
sts cm
Gauge: 18 = 10
Garment: X = 103
From here, I cross multiply the information I have (meaning, 18 x 103 = 1854, I couldn’t have multiplied 10 x «X» because I don’t know what «X» is), and that result is divided by the number that remained (which is 10 in this case), and we get 185.4, rounded to 185. So, I’ll need to work 185 stitches to achieve 103 cm.
You repeat this process with all the measurements you need. Remember to always use the gauge information for horizontal measurements with stitches and the information from the rows for vertical measurements.
Making Adjustments
Once you have this and you start crocheting, you might want to make modifications, and this is more common than you think (I do it all the time). If so, don’t worry! We can step outside the box and do something else, go with the flow!
Or perhaps you encounter errors or inconsistencies while you crochet. Here, documenting and learning to solve these problems clearly is essential. The important thing is for you to feel comfortable with your design.
Diseñar en crochet es un proceso apasionante que permite plasmar la creatividad en cada puntada.
Desde la concepción de una idea hasta convertirla en un tejido hermoso, cada paso es parte del viaje creativo.
Si bien, el diseño envuelve muchísimos más detalles de los que hoy vimos, espero que esta guía basica te inspire a explorar y crear diseños que reflejen tu pasión y visión únicas.
Designing in crochet is a thrilling process that allows you to imprint creativity in every stitch.
From conceiving an idea to transforming it into a beautiful fabric, each step is part of the creative journey.
While design encompasses many more details than what we’ve covered today, I hope this basic guide inspires you to explore and create designs that reflect your unique passion and vision.